
|
| Home page | The Maltese Flag | The Maltese National Anthem (text) | A brief history of Malta |
How to wrap text to Picture
|
|
Step 3: 1: You must first select the picture (1). 2: As soon as you select the picture, notice that a new tool bar appears above the ruler (2). |
|
 |
|
| Below are the effects of some of the above buttons on the Maltese flag: | |
 |
 |
| The crop tool | The image after cropping. |
 |
 |
| Image with wrap text to frame. | Image with wrap text to picture. |
 |
 |
 |
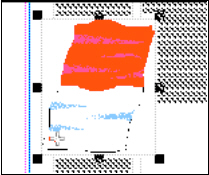 |
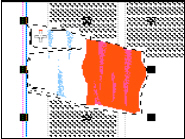
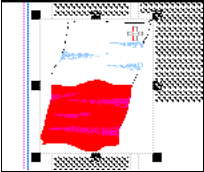
| The images after the flip tool is used. 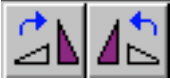 |
|
Step 4:![]()
As you can see from the above descriptions, your next step is to select the Wrap Text to Picture button.
At this point your image
should look more or less like this:
Your next step is to insert a text frame for the National Anthem.
Step 5:![]()
Insert a text frame (refer to page 5 and page 8).
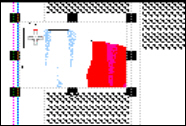
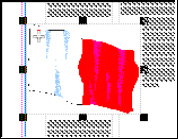
As you can see from your own work or as seen in figure 9, the text frame covers part of the picture.
By Pressing [Ctrl + T] the background of the text frame becomes Transparent as in figure 10.
|
|
| Figure 9 | Figure 10 |
Insert the National Anthem See figure 11
|
1: Select the whole National Anthem. 2: Use the Centre command 3: Change the font size to fit in the available space . |
 Figure 11 |
One final touch to conclude this introductory
tutorial:The background.
|
|
| If you have any difficulties, please e-mail me at: zammitellu@Hotmail.com |

