
Install Power Supply
To install the power supply into the case, just slide it into place and secure with the supplied screws. The screw holes on the power supply are offset so it will only attach in one orientation.


Cable Connections
Now that all of our components are in place we can connect them all together and supply power to them. Some cases can get pretty tight so you may have to unplug a connection to get to another, just donít forget to plug the first one back in. It doesnít matter which device you connect first just so long as everything gets connected. First, letís attach the IDE cables from the drives to the motherboard. IDE cables have a plastic notch on each connector so you canít insert them upside down. The blue connector goes to the motherboard and the black connectors go to the drives. The black connector farthest from the blue connector should be connected to the master (remember setting the jumpers?) and the black connector in the middle of the cable, if applicable, is for the slave. When attaching the IDE cables you want to attach your hard drive to the IDE1 bus on your motherboard and try and keep hard drives on their own cable if possible, or else they may suffer degraded data transfer rates. Attach the second IDE cable to your motherboard and other drives.


Next, attach the floppy cable to your motherboard and floppy drive. Floppy cables are very similar to IDE cables but they are smaller and rarely color coded. Most of the time they will be marked as to where they should be plugged into, but if they arenít just guess and if your floppy doesnít work or the status light stays on constantly, turn the cable around. If you are using a SATA (Serial IDE) hard drive, the cable will only go in one way and it doesnít matter which side goes to the motherboard or drive.

Next we need to connect power to everything. Letís connect our motherboard first. Depending on your motherboard will be which connectors you will need to use. For the motherboard I am using I will need the 20 pin ATXPWR and the 4 pin square ATX12V. Both of these connectors will only install in one direction, just make sure that the connectors are fully seated and that the little plastic latches are secure.


Now we will connect our drives. Most optical drives, hard drives, and many peripherals use a 4 pin flat connector that is notched at the two top corners. Itís pretty hard to get these in upside down due to the notches so just push these in fully.

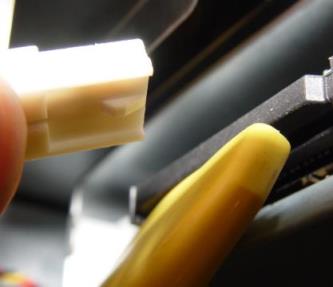
Our floppy drive and some other peripherals use a smaller 4 pin flat connector. This connector only connects in one direction, so donít worry about getting it in wrong; just make sure that it is seated fully.

If you are using a SATA hard drive other than a Western Digital, and your power supply doesnít have a SATA specific, you will probably need a special adapter. Power connection to a SATA hard drive is very simple; the plug only goes in on way.