Phase II: Death from above!
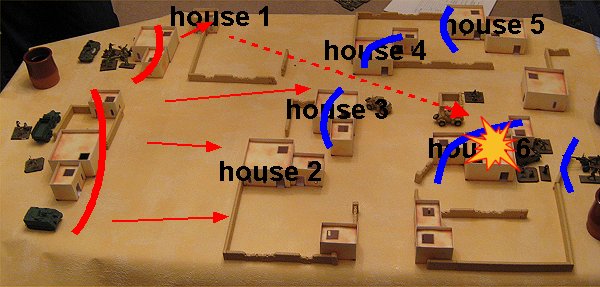
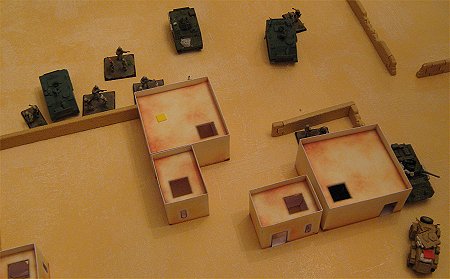
A quick look at the map reveals that occupying house 1 was a really smart move as it allowed the DRS commander to put a spotter where he enjoyed line of sight to house 6, where CUSTARD's main troop concentration was.
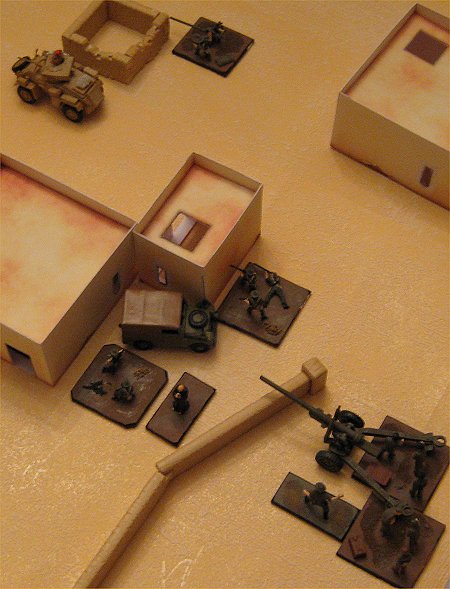
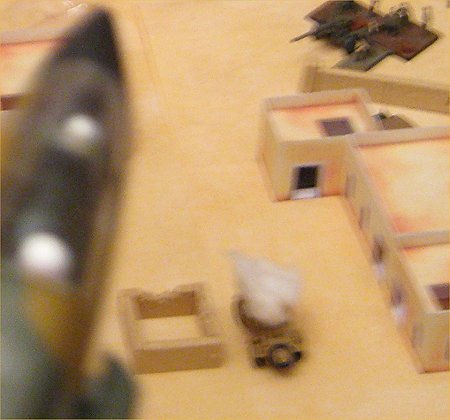
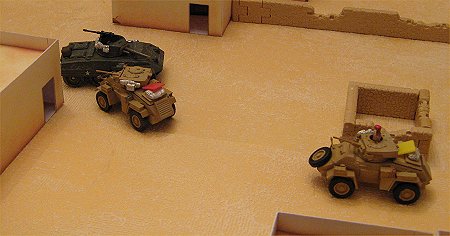
As the DRS armoured car rumbled towards CUSTARD positions, the only AT team available to the CUSTARD commander tried to take it out, but without any success. The ensuing short engagement between this armoured car and the CUSTARD Humbers left one of the latter burning. Only the lone CUSTARD gun could finally stop the armoured car, firing a 5.5in shell at point blank range.
Meanwhile, the infantry assault went on rather sluggishly; while the DRS forces managed to clear house 3, it took fire from house 6. As a consequence, the DRS commander decided to call in air support. In they went and flattened the place, effectively halving the number of CUSTARD units. Things looked rather bleak for CUSTARD...
|
|
|
 |
 |
|
|
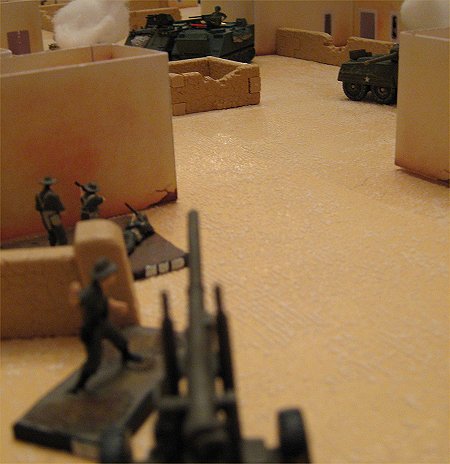
Textbook again - infantry assaults house 3, supported by APCs...
|
|
|
|
... while the DRS Greyhound poking around house 3 after the first of the two Humbers was put out of action (while it could still drive, its gun was destroyed)
|
|
|
 |
 |
|
|
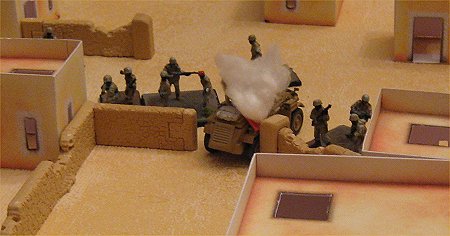
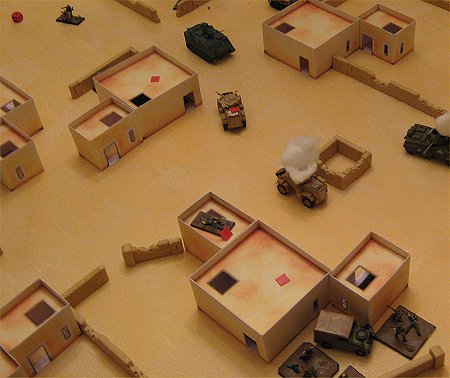
The DRS Greyhound goes on to silence the second CUSTARD humber...
|
|
|
|
... only to be finally stopped by the 5.5in gun - its first kill in the game. On the left, unfortunately rather blurry, is Sgt Paddy MacManus, the gun commander and hero of the game.
|
|
|
 |
 |
|
|
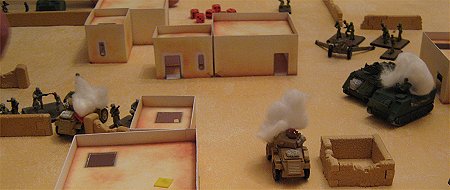
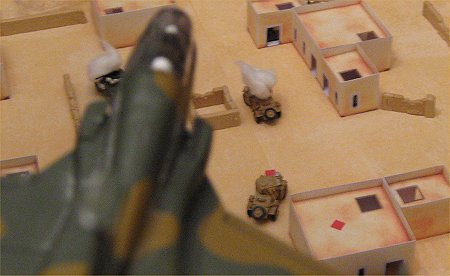
... but then in comes the DRS AF and flattens house 6!
|
|
|
|
The firefight between house 3 and house 6; suppressions everywhere, but things still seem to be fairly stable for CUSTARD...
|
|
|
|
|
|
|
|
|
Things looked indeed bleak for CUSTARD; not only did almost a whole squad perish in house 6, but also the overall HQ. Essentially, the air attack left nothing that could be moved due to all squad or platoon leaders being already killed.
Phase III: More death from above!
The only asset still available to CUSTARD was the sole 5.5in gun - even if it could not fire indirectly any longer, as the spotter was also among the units perished in house 6.
However, the DRS commander was slightly weary about simply moving up towards the gun and killing the crew and decided to call in another airstrike. That turned out to be a suboptimal idea...
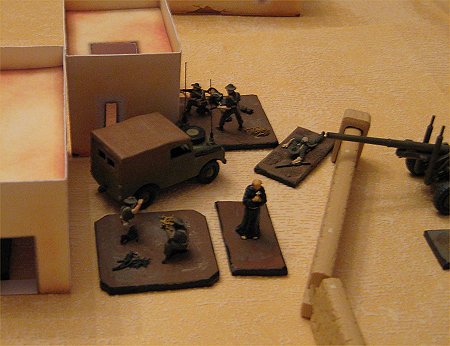
In the end the DRS commander's wariness about that lonely gun turned out to be well-justified - with most of the CUSTARD units wiped out, the M113s started moving into the village, only to drive directly into the sights of the gun. One M113 went up in flames before infantry fire suppressed the gun crew. In a final act of defiance - and as the result of another hand grenade exploding in the hands of the uber-competent DRS infantrymen - the CUSTARD commander managed to rally his crew and shoot up another M113 before finally the crew was silenced.
With the gun out of action, the game was over. The CUSTARD forces were all out of action, but DRS had to pay dearly for it. Of its four armoured vehicles, three were destroyed, while of three infantry squads only one was still ready for combat. On the whole it was a marginal rather than a decisive victory.
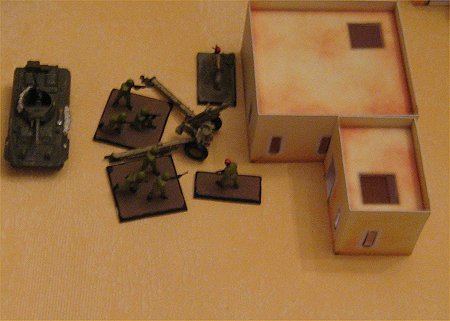
As already mentioned, CUSTARD forces were completely out of action, so their table is pretty empty. DRS on the other hand was in no shape for great operations either; essentially, only one mechanized squad was left, and the gun crews were probably rather unhappy about the prospect of having to manhandle their ordnance around. At least they managed to capture a Land Rover...
|
|
|
1. DRS
|
|
2. CUSTARD
|
|
|
|
|
|
|
1 PC +1
3 rifle team
1 AT team
|
|
|
1 PC +1 [supp.]
1 rifle team [supp.]
1 AT team
|
|
|
|
1 M113
|
|
|
|
|
|
|
|
1 PC +1
2 crew team
1 105mm gun
|
|
air support
|
1 TF-5
|
|
|
|
|
|
|
|
|
|
|
|
Final thoughts...
The game taught us a couple of interesting lessons. One, driving around with lightly armoured vehicles is both exciting and exceedingly dangerous - which means that future games will see a lot more of that! Two, our new artillery and air support rules work really well - as they make both artillery and aircraft very, very dangerous weapons for everybody. Three, frequent use of artillery and aircraft can speed up the game considerably, as a fair number of units can be taken out at once. Future games will no doubt see much more artillery and aircraft!
Oh, and the CUSTARD commander was particularly excited about the performance of his artillery team - and decided on the spot that due to the margnial nature of the victory CUSTARD forces managed to rescue the gun afterwards so that they could paint three kill marks on it.