 |
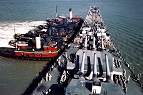
The US flag is raised during the commissioning ceremonies at New York Navy Yard. |
11 June 1944 |
|
 |
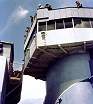
In drydock at New York Navy Yard. Note the ship's bell visible. Also note the camouflage and the enclosed bridge. |
23 July 1944 |
|
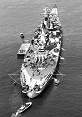 |
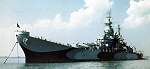
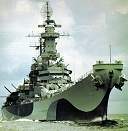
Anchored in New York Harbor. |
30 July 1944 |
|
 |
Anchored in New York Harbor. |
30 July 1944 |
|
 |
Anchored in New York Harbor. |
30 July 1944 |
|
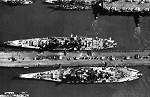 |
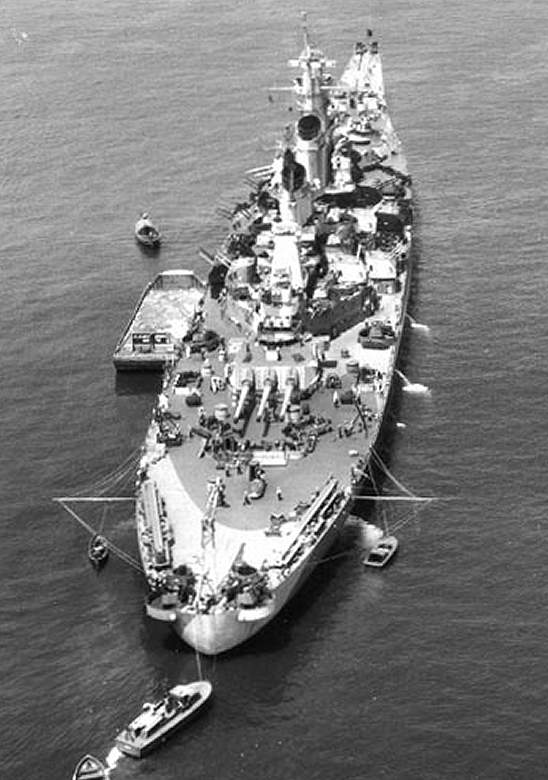
Seen docked on the same pier as the battlecruiser USS Alaska (CB 1). Alaska is at the top and Missouri is at the bottom. Both ships are wearing measure 32 camouflage, note the camo pattern visible on the decks. At the upper right is the ligher carrier USS Cowpens (CVL 25) |
August 1944 |
|
 |
Close-up of the armored conning tower and the enclosed bridge area during shakedown cruise. Note the floater nets mounted on the rear of Turret II and the camouflage patterns on the bridge area. |
August 1944 |
|
 |
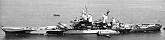
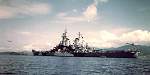
Anchored around the time of her shakedown cruise. |
August 1944 |
|
 |
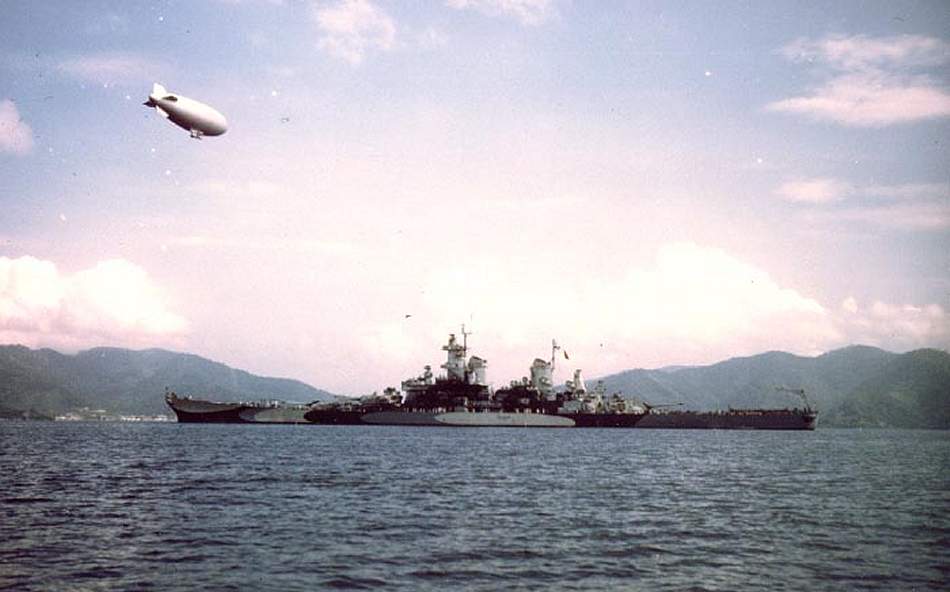
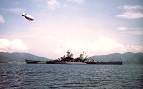
Anchored around the time of her shakedown cruise. Note the K-type blimp overhead and the new battlecruiser USS Alaska (CB 1) in the background. |
August 1944 |
|
 |
Anchored around the time of her shakedown cruise. Note the K-type blimp overhead. |
August 1944 |
|
 |
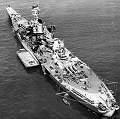
Anchored around the time of her shakedown cruise. |
August 1944 |
|
 |
Six tugs push the bow in preparations for shakedown cruise. Note the camouflage pattern on the deck and top of Turret I. Note also the "40mm #1" painted label pointing to the quad 40mm Bofors mount atop Turret II. |
August 1944 |
|
 |
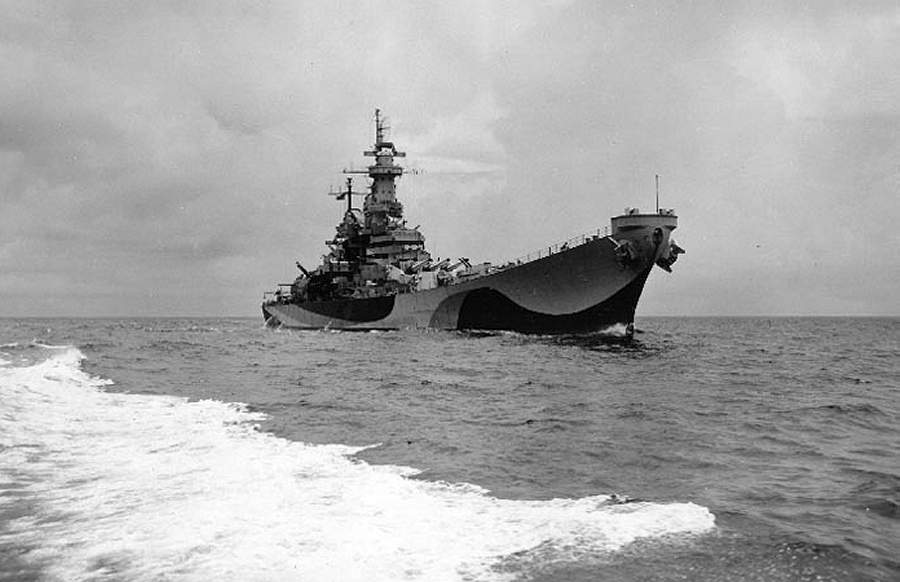
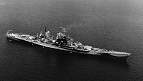
Underway during her shakedown cruise. |
August 1944 |
|
 |
As above, presumably as seen from USS Alaska (CB 1). |
August 1944 |
|
 |
As above. |
August 1944 |
|
 |
Shakedown cruise. |
August 1944 |
|
 |
View of the bow, note the camouflage pattern on the forecastle and turret top plate. The new battlecruiser USS Alaska (CB 1) is turning ahead. |
August 1944 |
|
 |
Looking over the quad 40mm Bofors mount atop Turret II during her shakedown cruise (the forward turrets are trained to port.) Note the camouflage pattern on the deck and battlecruiser USS Alaska (CB 1) is in the background. |
August 1944 |
|
 |
The executive officer and his talker in the primary conning station during the ship's shakedown cruise. Note the bridge instruments and the forward turrets. |
August 1944 |
|
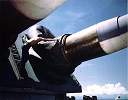 |
A crewman adjusts the 'bloomer' on one of the 16in/50cal barrels during shakedown cruise. Note the camouflage counter shading on the barrels. |
August 1944 |
|
 |
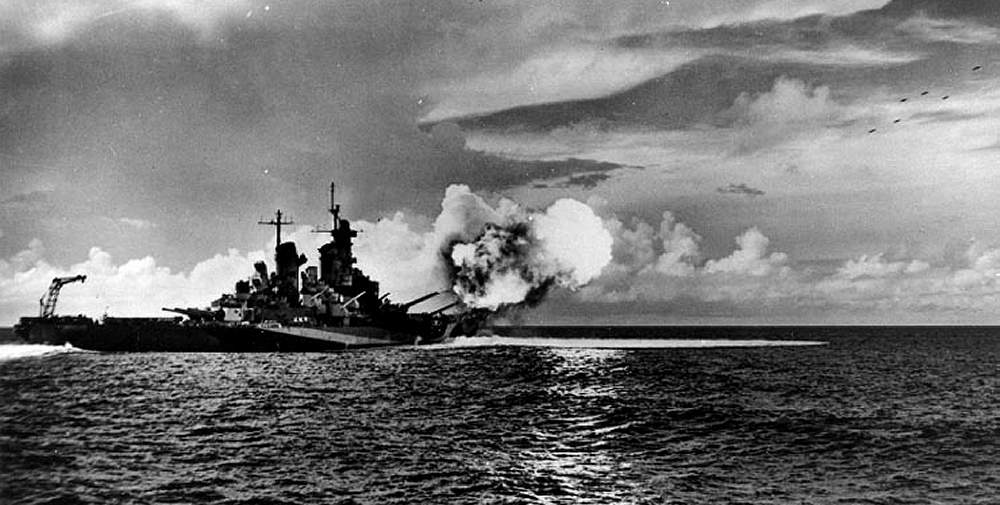
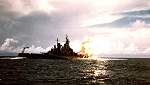
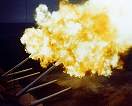
Main battery exercise while on shakedown cruise. Note the six 16" in flight at the right. |
August 1944 |
|
 |
As above, again note the six 16" in flight at the right. |
August 1944 |
|
 |
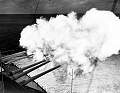
Main battery exercise while on shakedown cruise. |
August 1944 |
|
 |
As above. |
August 1944 |
|
 |
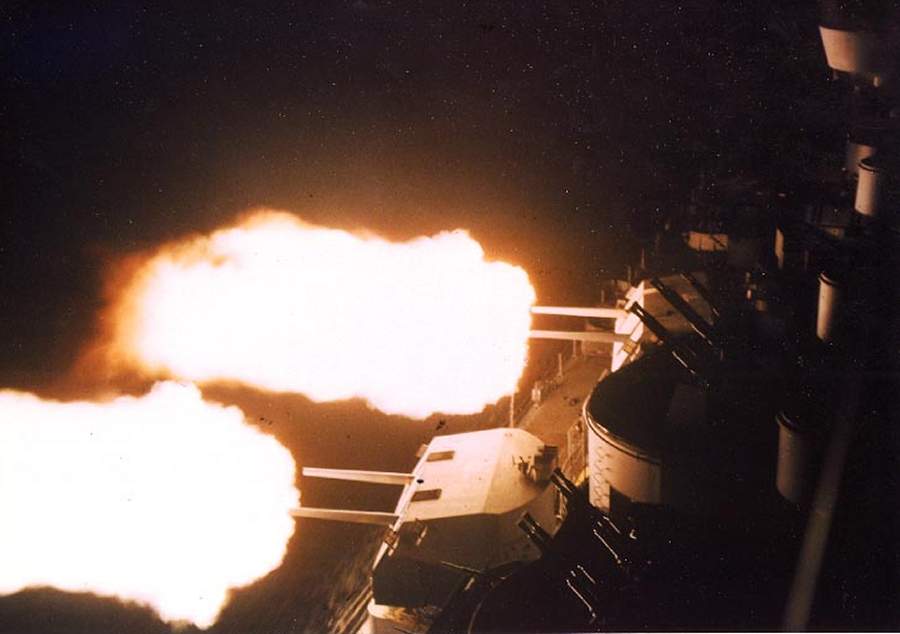
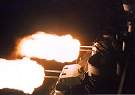
Main battery exercise at night while on shakedown cruise, here the center guns are firing. |
August 1944 |
|
 |
As above, this time firing at higher elevation (longer range.) |
August 1944 |
|
 |
Secondary battery (5in/38cal) exercise at night while on shakedown cruise. |
August 1944 |
|
 |
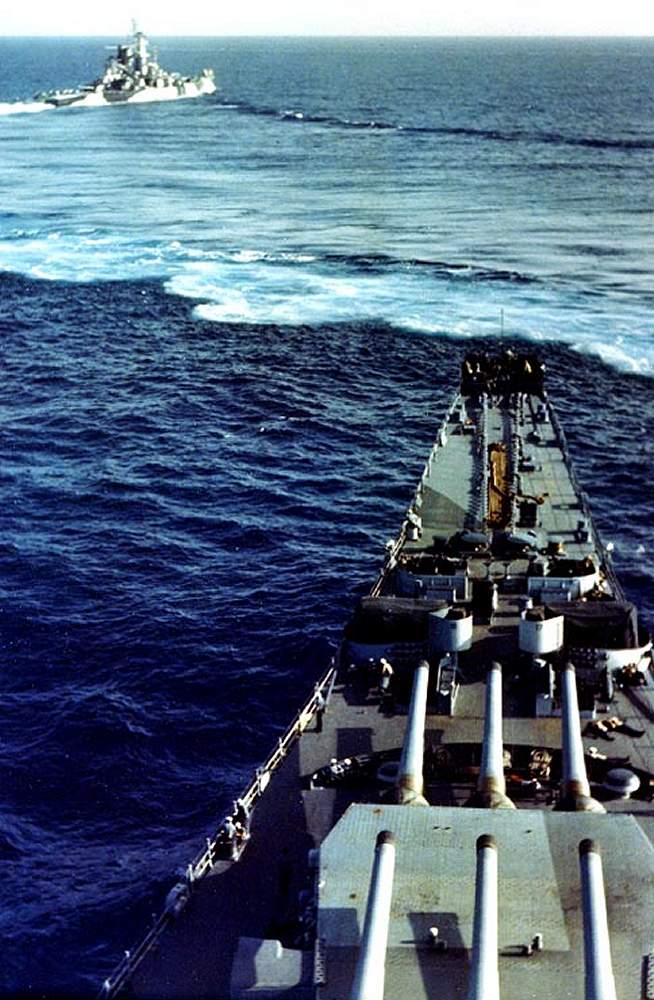
View looking down the port superstructure to the main deck while on shakedown cruise. Note that the 5in/38cal are labeled on their tops. |
August 1944 |
|
 |
View looking up the port fire control tower during shakedown cruise. |
August 1944 |
|
 |
An abandon ship drill during the ship's shakedown cruise. One of the ship's OS2U Kingfisher scout planes is visible on the port catapult while the wing of the starboard one is partially visible at left. |
August 1944 |
|
 |
A green flag is risen and the starboard OS2U Kingfisher scout plane is launched during the ship's shakedown cruise. |
August 1944 |
|
 |
An OS2U Kingfisher is recovered during the ship's shakedown cruise. |
August 1944 |
|
 |
An OS2U Kingfisher is hoisted back aboard during the ship's shakedown cruise. |
August 1944 |
|
 |
An OS2U Kingfisher is hoisted back onto the port catapult during the ship's shakedown cruise. |
August 1944 |
|
 |
The pilot of an OS2U Kingfisher walks away after it is secured on the catapult. Note the life rafts stored under the catapult. |
August 1944 |
|
 |
A prayer service on the fantail during the ship's shakedown cruise. Note the camouflage colors on the ship's superstructure. Notice the new battlecruiser USS Alaska (CB 1) censored out in the right background. |
August 1944 |
|
 |
A view of the fantail area as seen overlooking Turret III. The full load of three OS2U Kingfishers are present. Note the camouflage pattern on fantail deck and the large 20mm Oerlikon tub immediately aft of the turret. |
August 1944 |
|
 |
Underway to San Francisco, note an escort carrier in the background. |
22 November 1944 |
|
 |
Underway in the Pacific as seen from the Essex class carrier USS Intrepid (CV 11). |
1945 |
|
 |
The bow plunges into the waves in rough seas. A carrier can be seen in the background. |
April 1945 |
|
 |
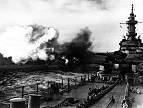
The sky is filled with her own anti-aircraft fire while operating at Okinawa. |
11 April 1945 |
|
 |
As above, a plane splashes into the water off her port bow. |
11 April 1945 |
|
 |
A kamikaze Zero can be seen at the top of the photo mere seconds before impacting the hull at Okinawa. Note the amidships quad 40mm Bofors mounts and each of their directors. (In this case numbers 9 and 11 are clearly visible.) |
11 April 1945 |
|
 |
As above, seconds later dense black smoke rises amidships as the kamikaze hits. |
11 April 1945 |
|
 |
As above, about a minute after the hit. |
11 April 1945 |
|
 |
As above, a few minutes later. |
11 April 1945 |
|
 |
A 40mm barrel is seen impaled by a machine gun from the kamikaze hit at Okinawa. |
11 April 1945 |
|
 |
Seen refueling from USS Tappahannock (AO 43) along with the carrier USS Yorktown (CV 10). |
July 1945 |
|
 |
As above, seen from USS Yorktown. Note the bloomers on the 5in/38cal barrels. |
July 1945 |
|
 |
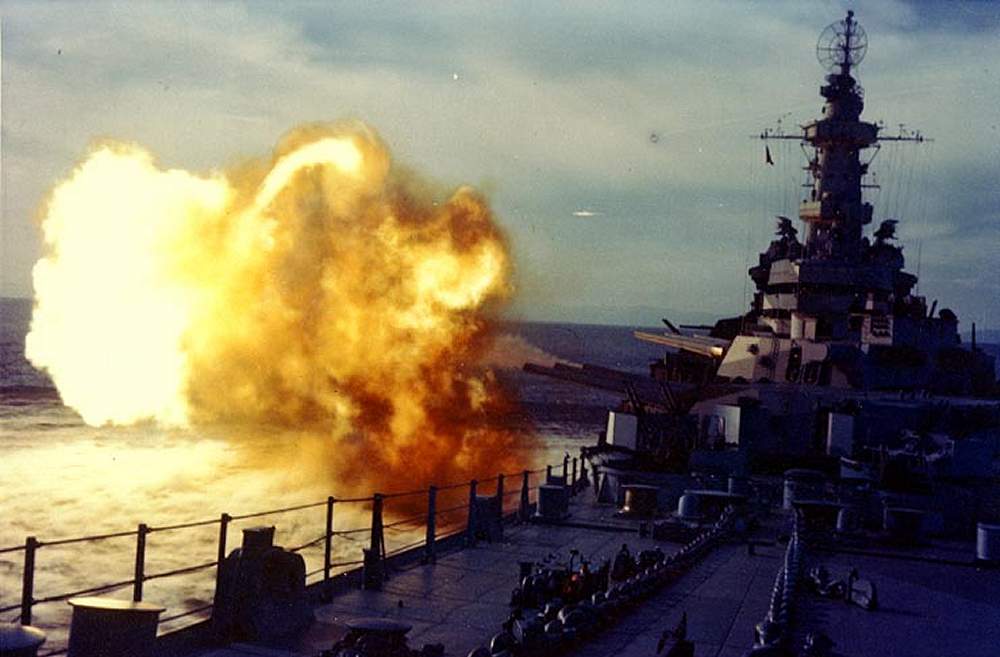
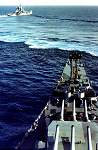
Main battery exercise before bombardment of the Japanese home islands. |
July 1945 |
|
 |
Transferring personnel with sistership USS Iowa (BB 61) (at right.) |
August 1945 |
|
 |
Near Toyko Bay for surrender ceremonies. Sister ship USS Iowa (BB 61) follows. |
29 August 1945 |
|
 |
Anchored in Toyko Bay. Mount Fuji is visible in the background. |
30 August 1945 |
|
 |
Seen anchored in Toyko Bay on the day of the surrender ceremonies. |
2 September 1945 |
|
 |
As above. |
2 September 1945 |
|
 |
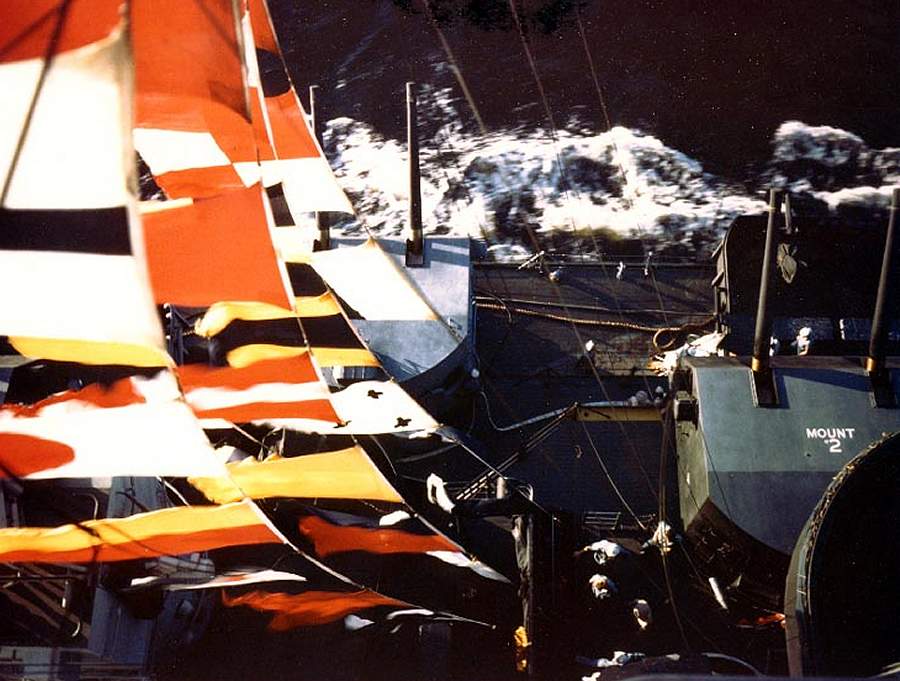
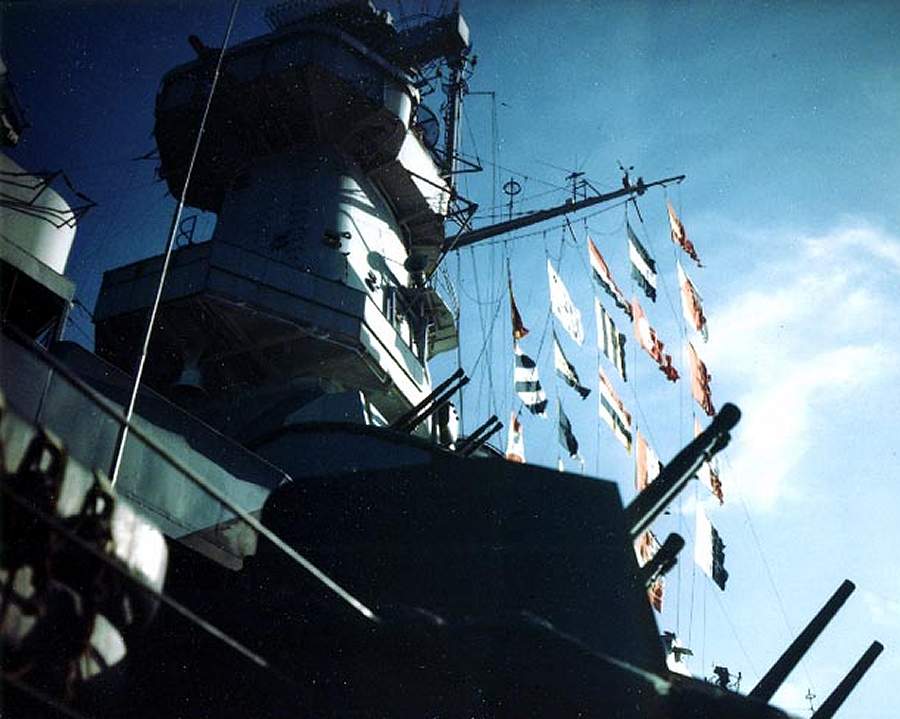
The superstructure is packed with spectators to witness the surrender ceremonies. Note the kill board painted on the enclosed bridge. The framed flag was flown by Matthew Perry in Toyko Bay in July 1853. |
2 September 1945 |
|
 |
The surrender ceremony underway beside Turret II on 01 level. The Japanese delegation is clearly visible. |
2 September 1945 |
|
 |
As above, seen from the bow. The backs of the Japanese delegation are visible. |
2 September 1945 |
|
 |
US Navy aircraft fly overhead during while the surrender ceremonies take place on Missouri at left. TBM Avengers, F6F Hellcats, SB2C Helldivers, and F4U Corsairs are visible. |
2 September 1945 |
|
 |
The Japanese delegation are seen departing after the surrender ceremonies. |
2 September 1945 |
|