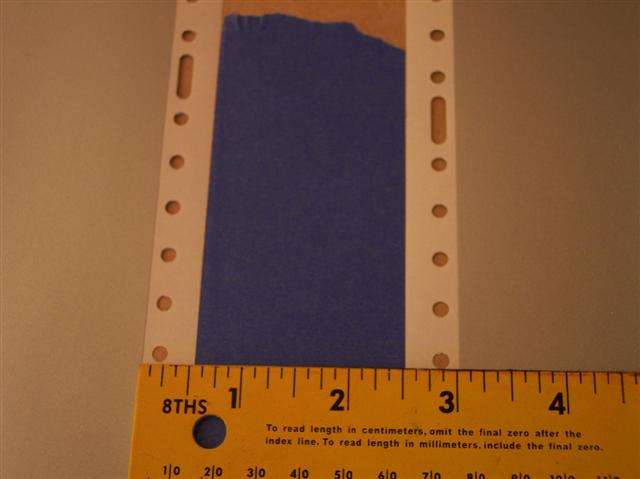
Vinyl (I used 15" x 10 Yard Avery®
Metallic
Silver)
Razor blades
Spray bottle filled with mixture of water & couple drops of soap
Rubber Squeegee (or credit card covered in a soft cloth)
Flat cutting surface
Ruler / Measuring tape
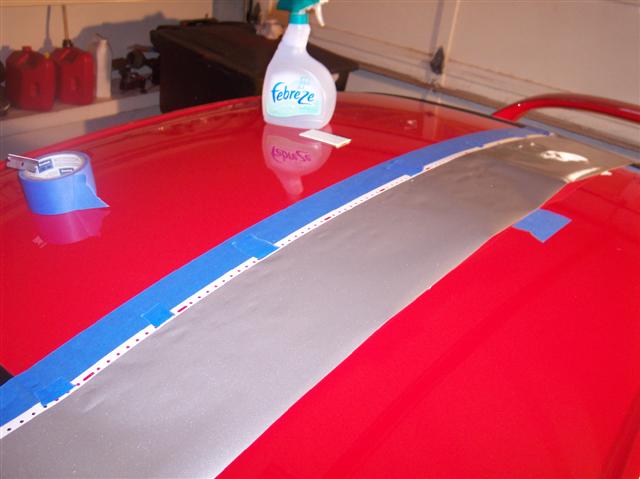
Masking tape, 2" wide
Grease pencil
Hair dryer / heat gun
Tips
I got the vinyl from a plastic's warehouse for less than $40 for a 15" wide by 10 yard roll. Very inexpensive, and easy to cut in half. I used the blue painters masking tape that is 2" wide. As far as the water spray, distilled water can yield better results, but I didn't bother with it.