
38 Tooth Sprocket Mod
Click on images for large view.
The first thing I did was remove the chain guard and loosen
the nuts holding the sprocket on the wheel.
Then I got the bike off the ground and removed the rear
wheel. 

I set the wheel on a bucket to work on it then removed the
nuts and sprocket. 

This image just shows a size comparison of the old and new
sprockets. 
I placed the new sprocket on the wheel and installed the nuts
and torque them down to spec. 

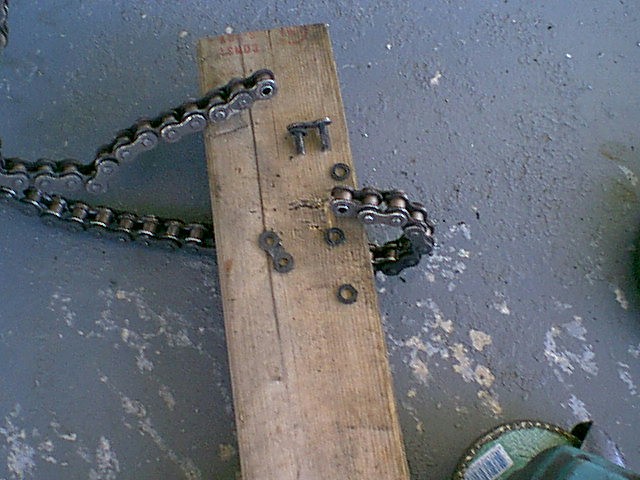
Now you get down to it and start with the chain. I didn't
have a chain breaker but a side grinder works well. It doesn't matter which link
you grind off but I drew some lines pointing out what makes up a
link. 
This picture didn't turn out well. I was trying to show that
when you grind down the protruding ends of the link keep going a little so it doesn't
hang when you try to separate the pieces. 
Now just use a screwdriver and a hammer and separate the
link. 
I put the wheel back on and after taking a measurement I
removed another male link for a total of 2 male links and 1 female
links. 
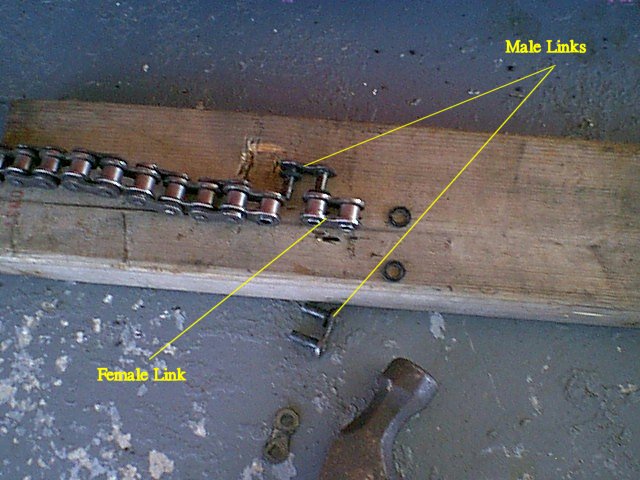
This image shows what I removed from the chain. Two male
links and the female link connecting them 
I used a master link I got from sprocket specialists to reconnect
the chain. Just connect the two ends of the chain with the new link and squeeze
the plate until the grooves are visible. Then place the clip in position and use
a hammer to gently set the clip in the locked position. 

Now you just have to adjust the chain tension, replace the
chain guard and lube the chain and you are ready to go. 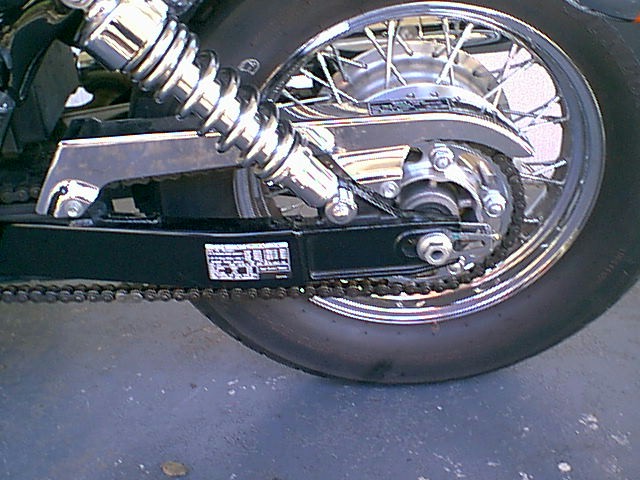
I ordered two master links with my new sprocket. I put the second master link in the bikes tool bag for emergency use.
Here are the torque values:
Rear axle nut: 69 ft pounds
Rear sprocket nuts: 65 ft pounds
Email shadowrider2001@hotmail.com with any questions.