and connect an RC oscillator as in the schematic below:

With the program LEDSRUN, the LEDs wil llight up sequentially as a running light.
Getting started with your PIC
programmer:
An example
Introduction
The PIC programmer will be explained with a
small example using a PIC16F84 ÁController.
The example "LEDSRUN" is a small running light using 4
leds connected to the PIC.
The example program LEDSRUN is written in the Microchip assembly
language and compiled with MPASM / MPLAB .
If you are interested in the source code please download it here.
The example circuit "LEDSRUN"
To use this program connect four LEDs from each
of RB0-RB3 of the PIC16F84 to ground via four 470 ohm
resistors
and connect an RC oscillator as in the schematic below:

With the program LEDSRUN, the LEDs wil llight up sequentially as
a running light.
Programming the PIC 16F84
First set up your PIC programmer and make sure that the GREEN LED is on.
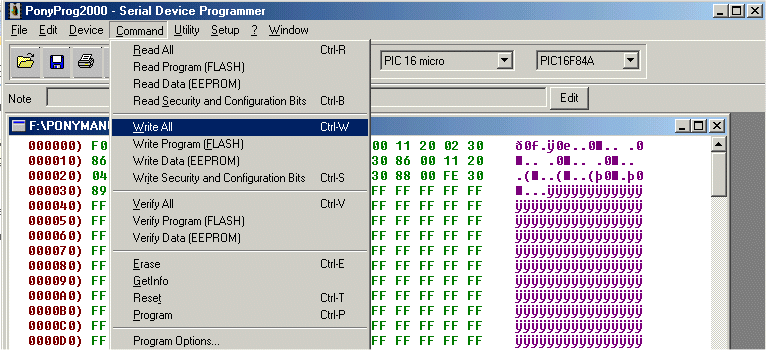
Insert a PIC16F84 in the 18-pin socket and start PONYPROG.

In this example, check the WDTE, leave the rest unchecked.
Now the watchdog timer is disabled so the PIC does not care if a loop takes very long.
If you don't disable the watchdog timer, the LED's will show "hickups" because the WDT kicks in.
Security bits explanation:
- CP: if checked all memory is code protected -->DO NOT ENABLE CODE PROTECTION!
No, it can't be undone. You will have to replace the chip!- PWRTE: if checked power-up timer is enabled
- WDTE: if checked watchdog timer is disabled
- FOSC1,FOSC0: oscillator selection bits, see table below:
FOSC1 FOSC0 Status not checked not checked RC resistor/capacitor oscillator not checked checked HS high speed crystal/resonator oscillator checked not checked XT crystal/resonator oscillator checked checked LP low power oscillator So in this case the PIC16F84 is setings are: no code protection, power up timer disabled, watchdog timer off, RC oscillator.


