SEABIRD´86 | ||
BUILDING STEP 10 | ||
Side
panel
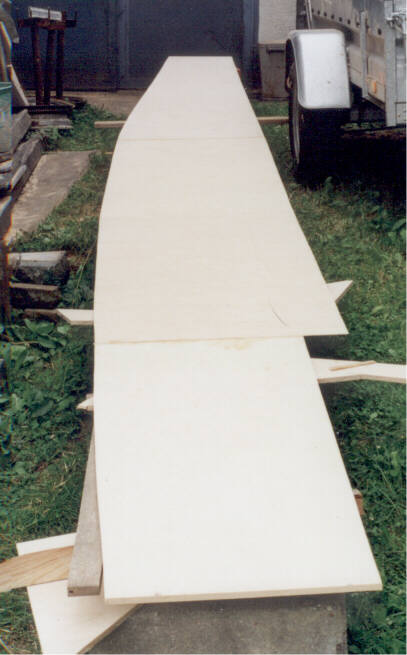
Dimensions are given in the plans. I've made a 1:1template (see building step 6). It fits o.k., but I dont want any risk of breakdown, so I made the base line as estimated in the plans and the upper line 1" higher. |
||
Test fit of the side panels, to get an exactly position for the scarfings. | ||
Side panel sheets scarfed and glued. | ||
Screwed and glued to the bulkheads and clamps. | ||
Upper edge shaped with a planer and sander. | ||
The construction of the Bilge panels has needed
a lot of preparation and thoughts about the building process. Mr. Bolgers
building discription says: "Bilge panels have fitted to actual space between
side and bottom panels by trial. ..." and hopefully not with error.
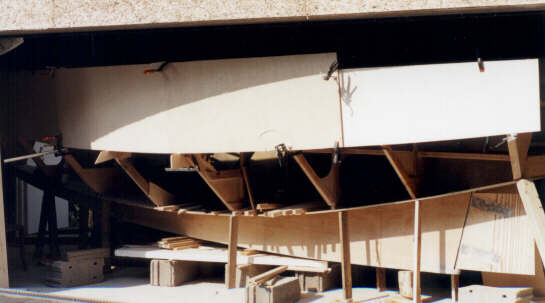
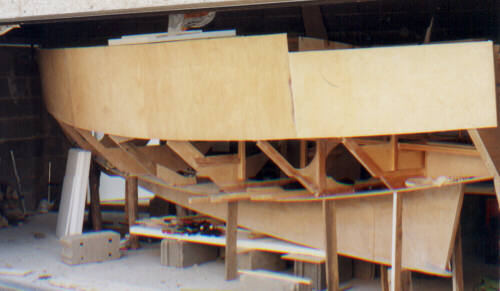
First I've sawed 2 1/2 sheets of ply roughly. Then I've screwed them to the Bulkheads and with a lot of wooden sticks I've pressed them to the edge of bottom and side panel. I've done both sides of the boat at the same time, because there is a lot of pressure in the bow section. After that my pencil goes along the bottom and side panel from inside to the ply sheets. Now the ply sheets must be dismounted to cut along the lines. After cuting along this lines there was some work to fit the panels exactly between bottom and side panel. |
||
A threadbar was very helpful to got the panels to the bow. | ||
Next step was to do the scarphings according
with some mountings and dismountings of the ply sheets. It's quite difficult
to do this work without helpers, but -you see- it's possible. To get a
tight fit of the panels I've done the glueing of the scarphs with panels
on place, pressed together with a lot of wooden sticks from inside and
outside.
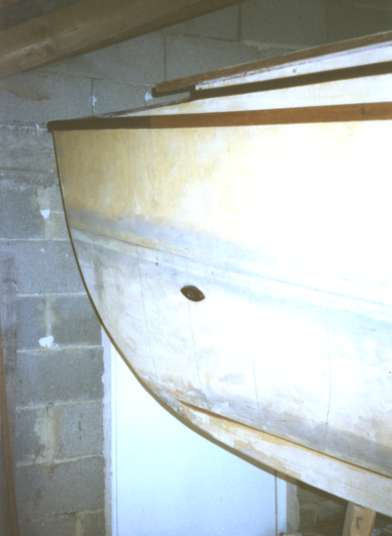
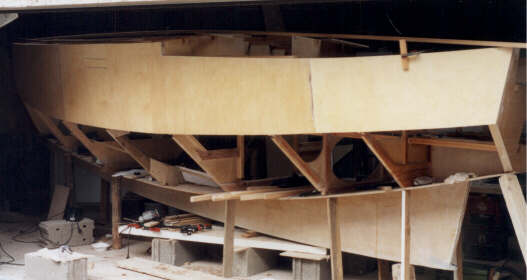
In the picture left you can see the last dismounting of the Bilge panel for glassing. At the bow section I've done the glass work after the finaly installing of the Bilge panel, because there is so much tension in the ply (in both directions) that I was afraid about cracks in the ply or in my clamps. All in all it works o.k. to do the job this way. It's a job of very many little steps and a lot patience. |
||
For the finaly mounting of the panels to the
hull I've screwed the hole panel to the bulkheads. Then I've glued from
the middle to the ends of the boat.
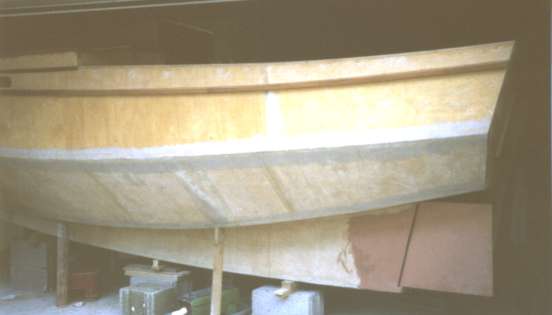
The seams are filled, rounded and covered with 2 layers of glas, inside and outside. |
||
The hole for the anchor-well drain is covered with a teak eye, fits through the ply wall |
seabird
original
seabird modified
version
building steps
building step 1
Model
building step 1a
more model pictures
building step 2
The new workshop
building step 3
Preparations
building step 4
Keel & Bottom
building step 5
Horn assembly
building step 6
Bulkheads & Transom
building step 7
Hardware & Vents
building step 8
Stringers & Clamps
building step 9
Rudder
building step 10 Side
panels & Bilge panels
building step 11
Main sheer moldings & windows
building step 12
Tabernacle posts
building step 13
Deck
building step 14
Cockpit
miscellaneous
going around
the boat
breakdowns
scarfing
tool
load handling
links
seabird ´86
index
back to top
mailto: nohnmusik@gmx.de