This is George's
web page to document the rebuild of his
sailboat in the Spring of 2005. The boat is a Luger Leeward 16.
This site is not going to be
fancy. I'm using it to document the
rebuild and hopefully get inputs.
Working on the boat will take
priority over updating
the web page, so I won't have daily updates.
5/2/05 If I'm working on the starboard side of my boat, why does my
coffee cup keep winding up on the port side?
5/31/05 Why hasn't George been updating this page? Most of the
work for the past several weeks has been mundane -- sanding painting
etc. I've also been doing Spring chores and haven't had much
free time to work on the boat.
When I found the www.lugerboats.com web site I
breathed a huge sigh of relief. This site has a loads of
resources that are indispensable when working on your luger boat.
It even has a complete set of blueprints for the Leeward 16.
Tools and Materials
I've decided to add a new section at the top of the web site. It will
be in two parts:
1. The tools I need to accomplish this project:
a. screwdriver
b. skill saw
c. rotary saw
d. A friend with a complete wood shop.
and
2. An account of expenses (This will be a true assessment of the
project's cost -- unless someone rats me out to my wife, then I'll
delete it :) ).
a. High quality exterior 3/8" plywood (2
sheets) $17.99 per sheet. If you can get marine plywood it would
be better. The cheapest I
could find 3/8" marine plywood was $83.60 per sheet (in Kansas).
b. Sanding block - $4.97
c. Paint brushes (2) - $2.68 (cheapos)
d. 2 quart polyurethane - $8.97 each
e. 1 quart exterior primer - $10.27
f. 1 two pint wood finish - $3.66
g. 1 1x12x8 cedar board - $19.38
h. 36 pool noodles at 1.49 each ($53.64)
i. Silicon caulk - $4.97
j. 30+ brass screws - $12.00
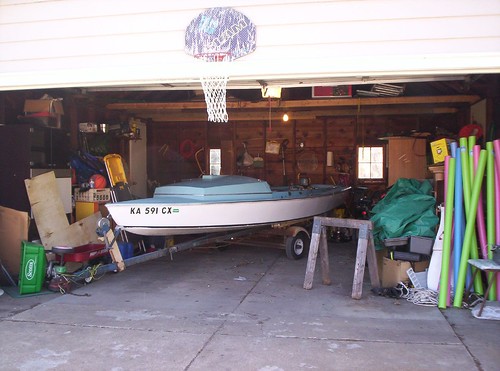
This is what a Leeward 16 looks
like.
This is the what the deck looks like.
It's not supposed to look like
this.
This is the boom and mast
traveling mount on
rear-end of the boat. The battery box is in front
of it.
This is the wood on top.
It will have to be
replaced.
This is what it looks like
inside. If anyone wants
better detail of this mounting apparatus e-mail me.
Taking the seat off was very
easy. After the metal flashing was
removed, another layer of screws held the seat to the superstructure.
There was another set of flashing
connecting the seat to the seat
support. Once all the flashing and screws were removed the seat
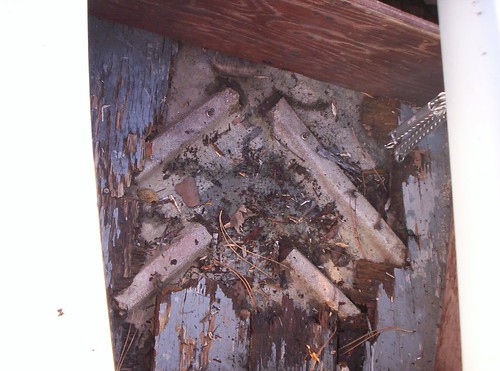
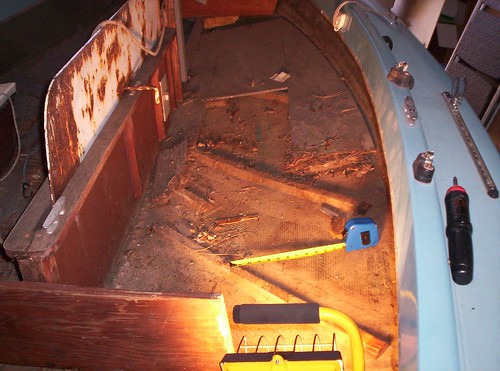
This is the flotation I found under
the seat (starboard side). It
is very old
styrofoam. A lot of it crumbled into pieces when I pulled it out.
I'll use Mike Morris's tip about pool noodles to replace it. Pool
noodles are much shorter than the seat so some will have
to be cut in half in order to fill up all the space. I'll also
use tie-wraps to hold the noodles together in one piece.
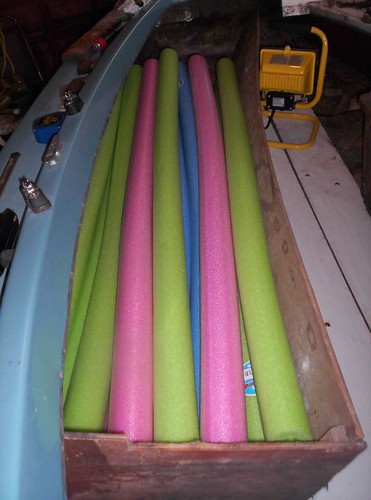
6/1/05 Everything is ready to put the
seat back together: According to
the weight/flotation values Mike Morris supplied, I should only need
5 or 6 noodles under each seat to keep the boat afloat. I decided
to
play it safe and fill the entire cavity. This took about 18
noodles
per
seat. If you can make it out, there is a 2 foot gap in the back
of the
noodles. I'll use a piece of the old styrofoam to fill that area.
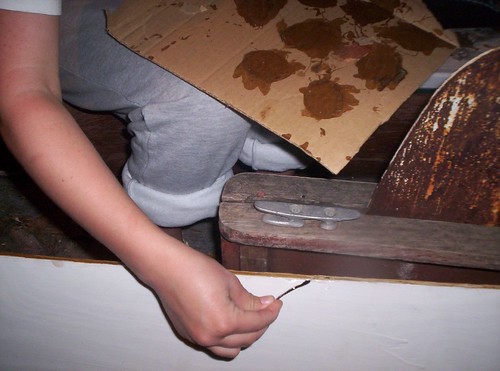
6/1/05 FYI: putting the seat
back together is not a one man
job. In fact, You'll probably want two or three helpers to hold
the seat in place
while you're replacing the screws.
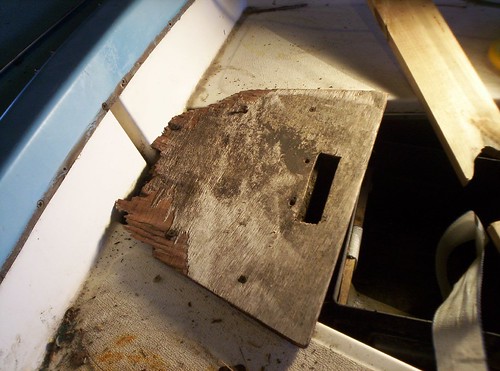
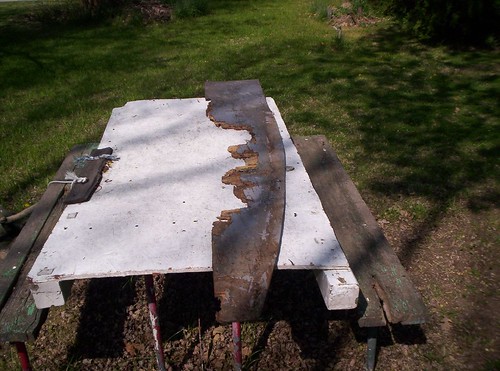
I removed the largest portion of
the deck today. The piece is 8 ft long and is 14 3/8 inches
at the widest point.
Any plywood experts out there? When I
removed this I looked at the
holes on the support ribs. I believe this is the
original plywood from 1967. I want the replacement parts to be
better than the original. Could this be Marine
plywood?
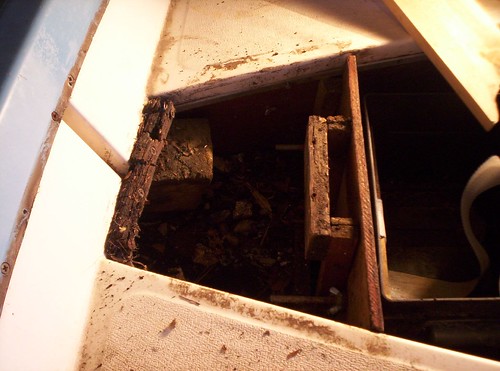
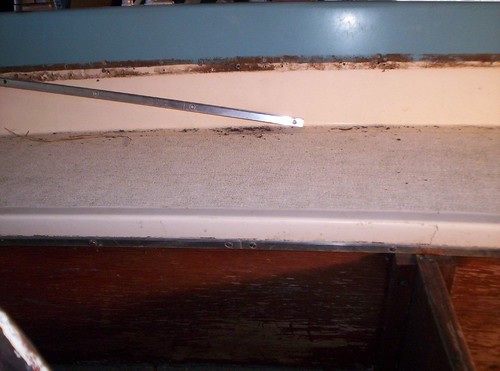
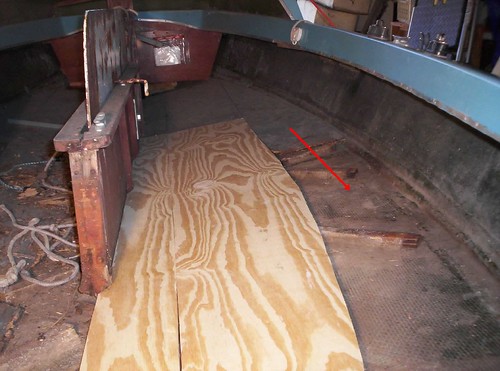
I wanted to include this picture to
show the deck mounting ribs.
I have my tape measure pulled out to 12 inches and the tip of it
sitting on one of the ribs.
The ribs are constructed of a trapezoid length of wood covered with
fiberglass. The edge of the deck will be under the seat, so there is a
great deal of
fudge room. I like fudge room.
4/20/05 - I cut the two large pieces of plywood for the deck
yesterday. I was hoping to do the deck with on sheet (leaving
some of the decking under the superstructure). After doing some
measurements, I discovered I'll need a second sheet of plywood to
finish the job, so I'll replace the entire deck.
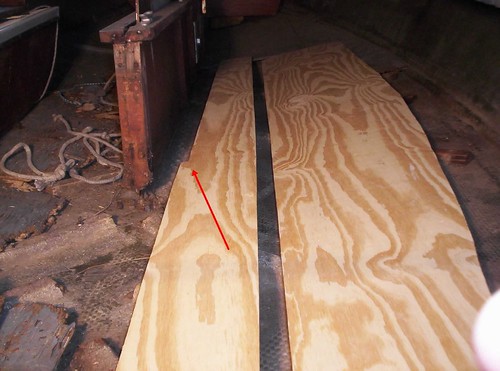
5/2/05 - Here are the pictures of the new deck ready to be primed,
painted and installed.
5/2/05 The center plywood is 8' x 6" with a ½" notch cut out to
fit
around the
centerboard well.
5/2/05 The piece on the right is 8' long and 14 ½" at its widest
section. These
two sections make up 90% of the floor space on the starboard
side.
Note the
large gap in floor coverage (red arrow). The seats will cover
this area.
6/1/05 After we painted the
deck's top surface and polyurathaned
the bottom, we used epoxy to seal the edges of the plywood.
Hopefully this deck will last us 30 years.
Motor Mount
I decided to work on the motor mount while the starboard side was apart.
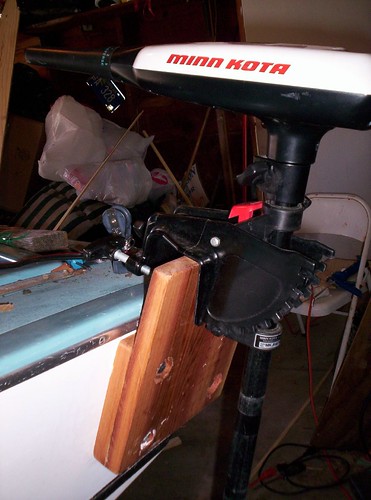
4/20/05 This is the current motor mount on the transom. When the boat
tilts to starboard this
mount plows into the water.
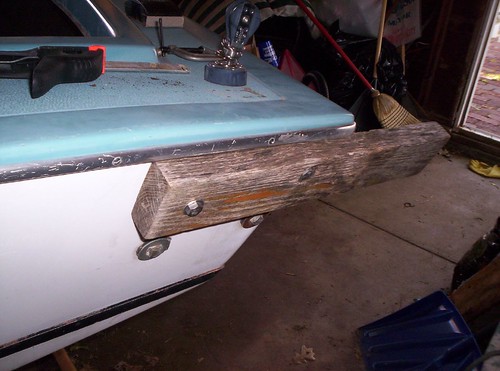
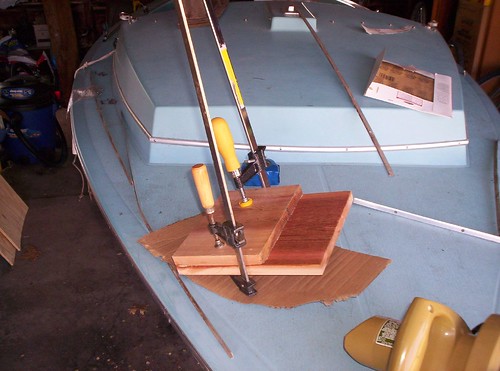
4/20/05 I found a better way of doing it from Joanie
Johnston's site; I also found out what lagniappe means. My mount
is a smaller version because my motor will
be a small trolling motor. I used two pieces of 3/4" cedar. One piece
is 7x9½ the other is 11x9½. I stuck them together with
Gorilla Glue®, then I'll add wood screws.