

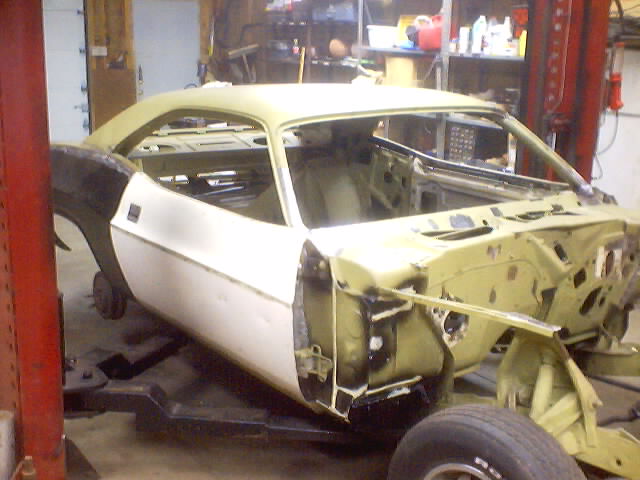
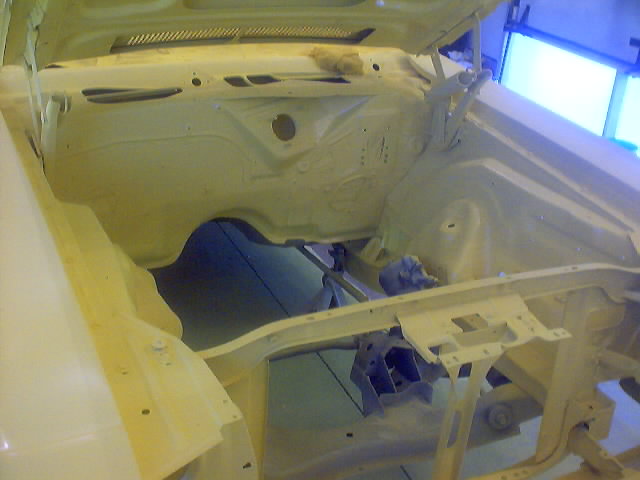
In the beginning.
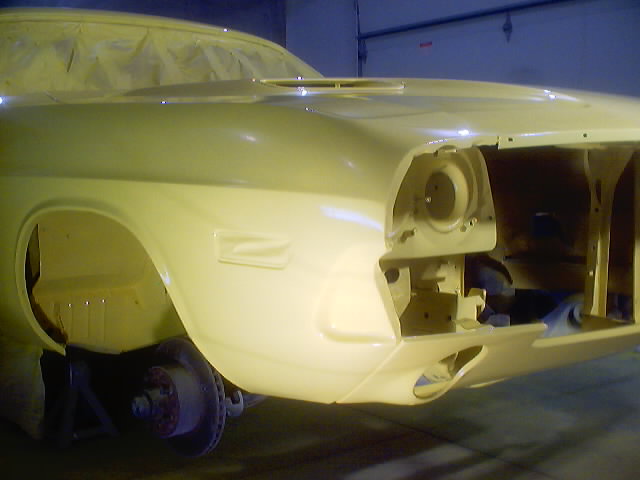
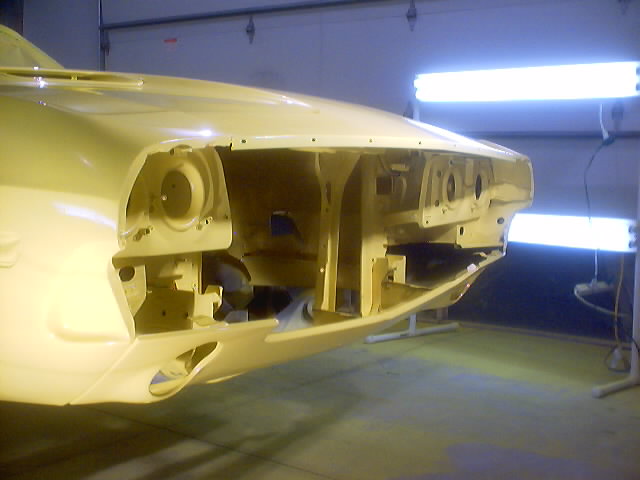
In its current state.

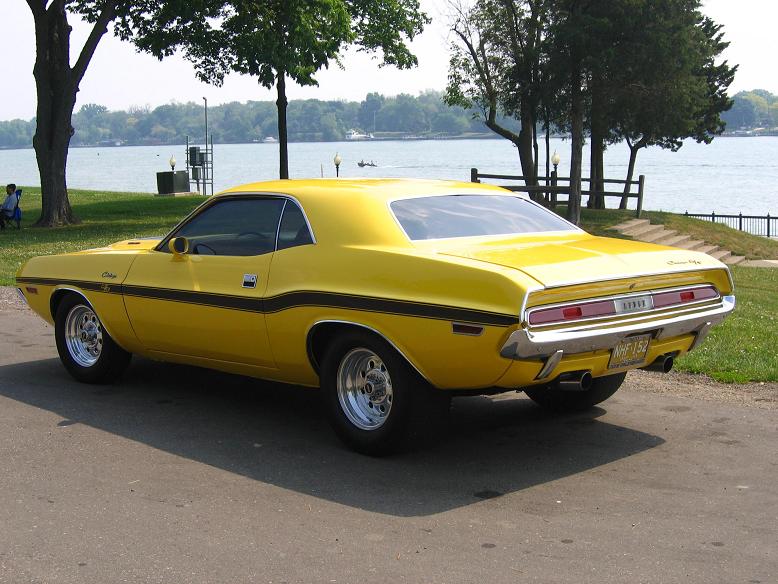
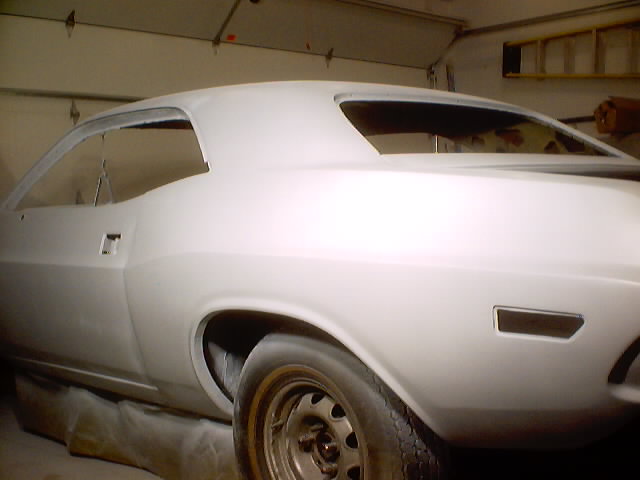
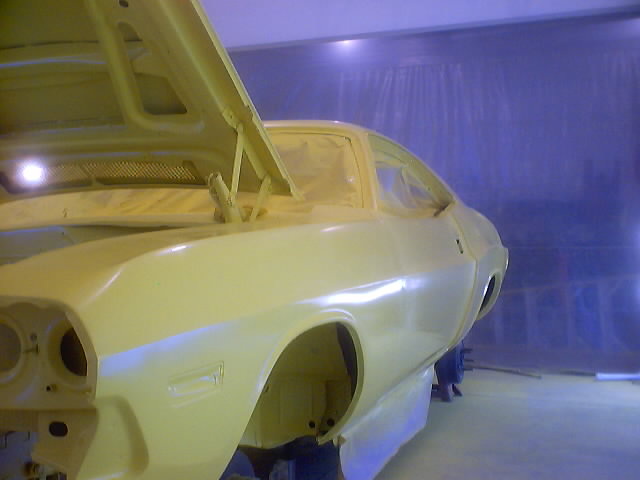
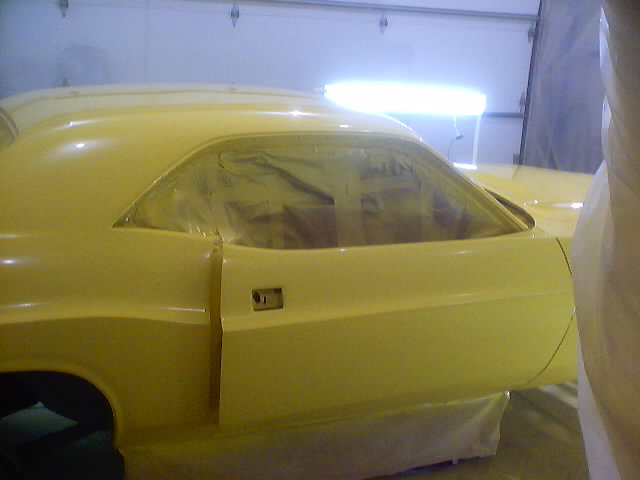
Side View.
My name is Bob Czachorowski and I'm from S.E. Michigan. This is a web page to highlight the work I performed on a 1970 Dodge Challenger R/T .This car was a total basket case that was purchased from a police impound lot.The car was in desperate need of some serious repair.Originally a 4 speed car the current owner chose to convert it to a automatic.There is a 440-6 pac K -frame under the front end , and a Dana 60 under the rear.Super stock springs support the axle, relocated 3 inches inboard to provide clearance for the monster tires that will be housed in the mini tubs.This project has currently taken me just over 6 months to complete to this point.
I also dabble in the elitist E-body restorations as evidenced by my brother's award winning 1974 'Cuda being judged here at the 2002 Mopar Nationals!
Some Pictures of My Mopar Hobby...
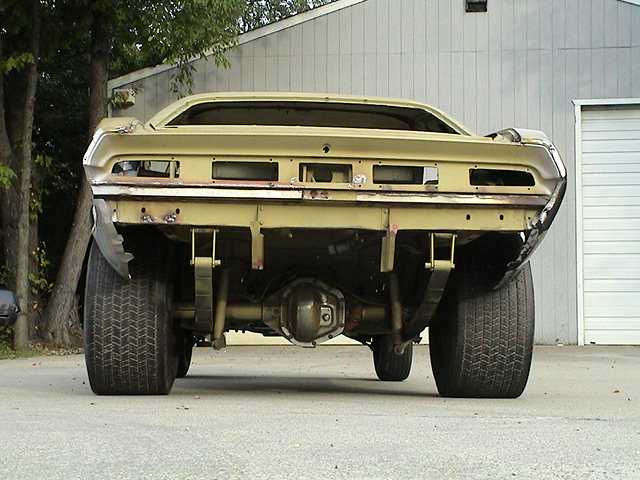
The beginning.
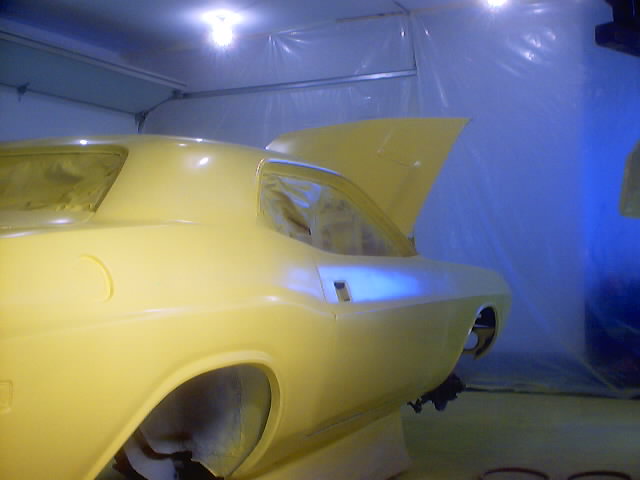
Rear View.
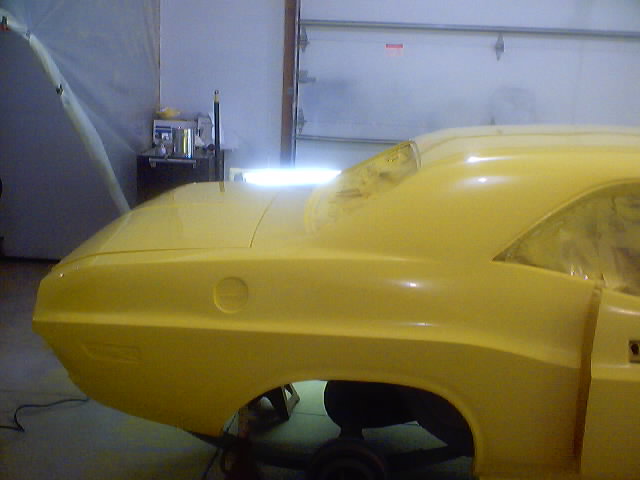
Right Rear Corner
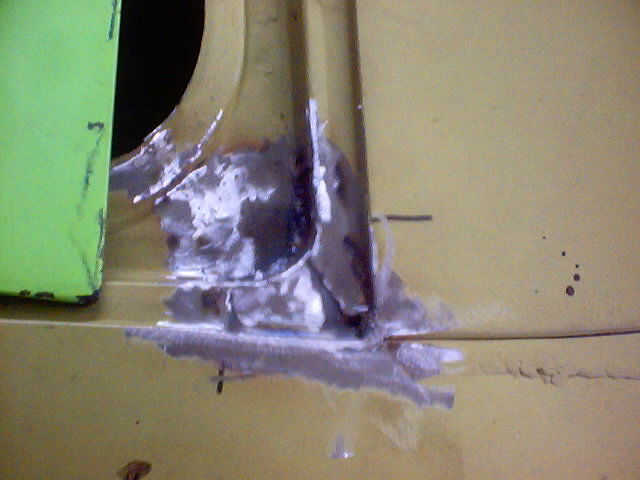
Lower corner of windshield at the beginning.
Same corner with the rust cut out.
Tunnel after being changed.
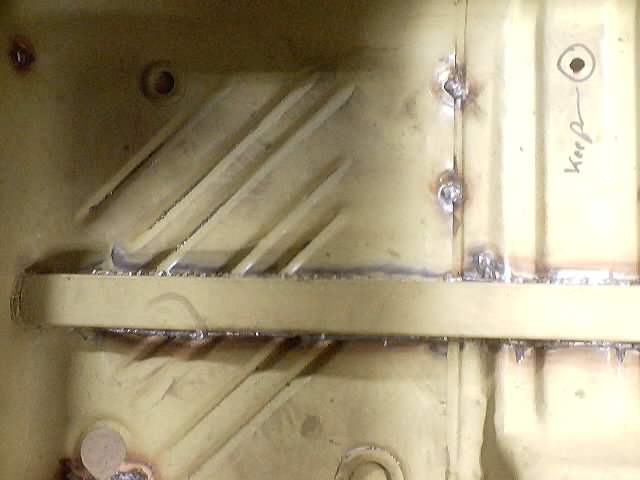
Frame ties that were addded.
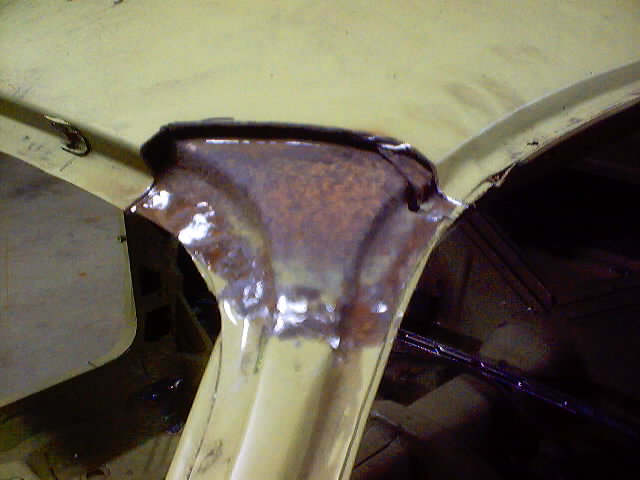
How the corner of the roof looked with the rust cut away.
Roof after Patching
Patches That were needed in the left corner of the trunk gutter.
Patch in the right corner of the trunk gutter.
Right quarter panel after welding.
Left Quarter after welding.
Closer look at what I had to work with.
A look at the new trunk floor.
New Trunk extensions.
Right hand side of the roof seam.
Repair that was done to the right hand side Rad. support.
Left rear side marker opening after rework.
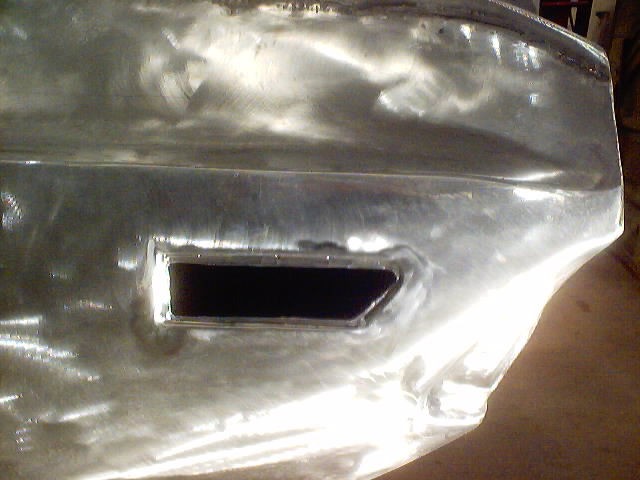
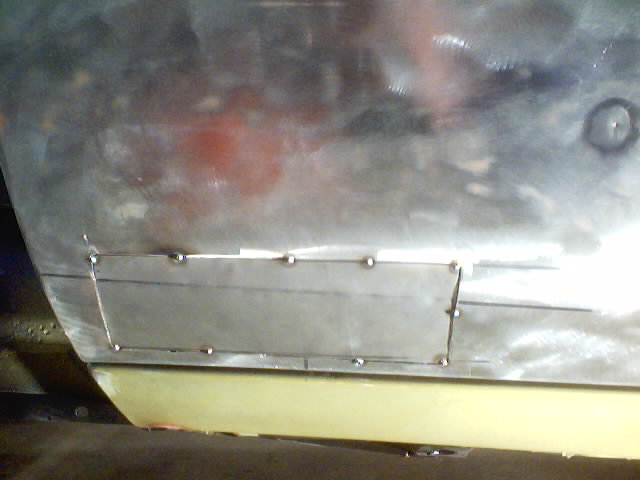
Rework that was done to the fuel filler opening
Fuel fill opening in primer.
The back side of the fuel fill opening.
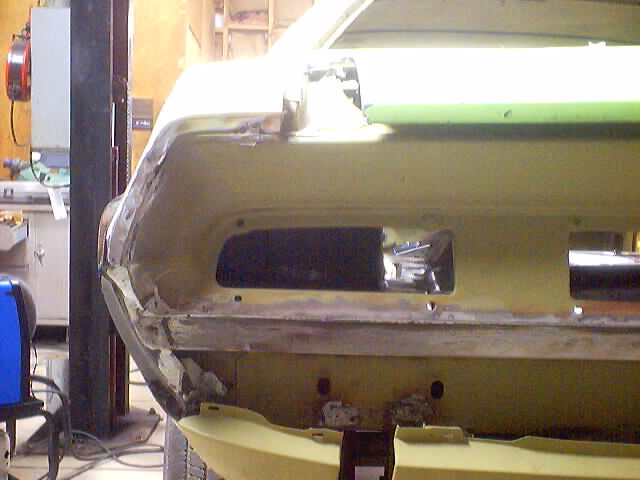
How the rear valance first looked when it was attached.
Some of the rework required to get the rear valance to fit.
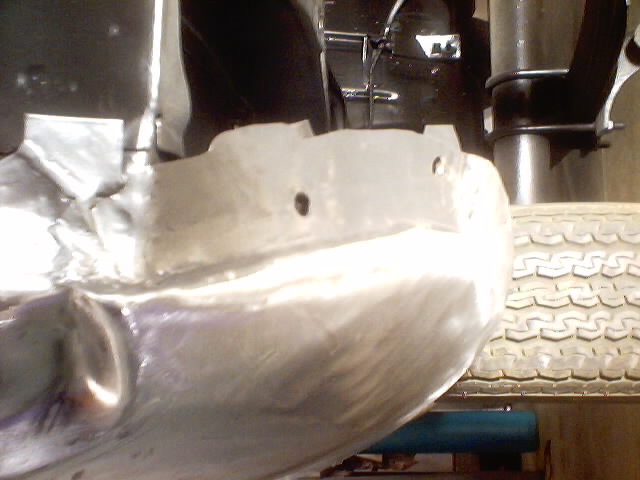
Right hand rear valance attachment flange.
How the valance fits now.
Closer look at the left rear corner of the car.
Rust holes that were repaired in the passenger door.
Beginning to patch the drivers door.
How the right hand A pillar was rebuilt.
The rust that was in the right hand hinge pillar.
Right hand hinge pillar after the rust was cut away.
Floor to dash repair.
Floor to dash patches.
Just hung the doors.
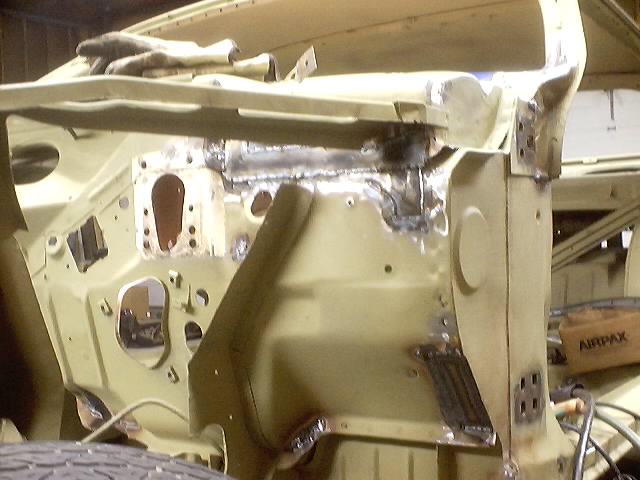
This is the firewall to cowl repair on the left side.
The left side of the car after going over it with 80 grit on a DA.
The right side after using the DA.
Here is the right side of the car with DP90 being used as a base for the primer surfacer.
The left side after spraying DP90.
Right side door with filler applied.
Left Door with filler applied.
Bottom of the car painted with POR15 Chassis Black paint.
New inner front fenders in place.
Left side of the car after spraying K36.
Right rear side marker light opening after additional rework.
Right hand fender after repairing the support brace.
Firewall with sealer applied
Interior floor with sealer applied.
Front end masked ready to spray front wheel wells.
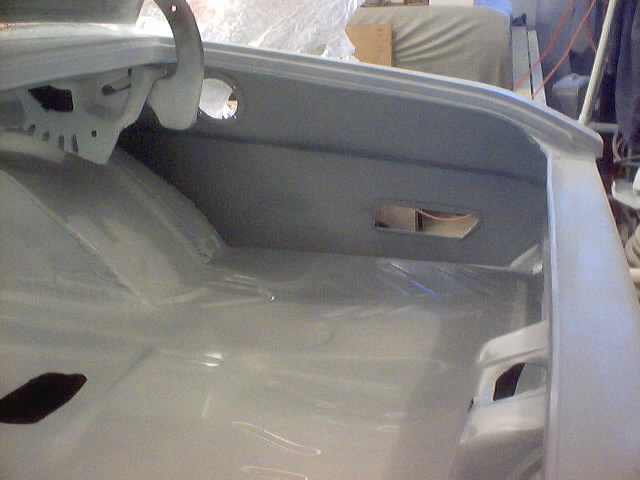
Right side of quarter,inside trunk.
Right side of trunk floor. With sealer applied.
Left side of trunk floor.
Left fender in sealer.
Left door in sealer.
Left front in sealer.
Left quarter prior to sealer.
Left quarter in sealer.
Left sail pillar prior to sealer.
Left side of the hood prior to sealer.
Left side of the car with sealer applied.
Left side prior to sealer.
Closer look of the left side with the sealer applied.
Left side of the trunk floor looking at the left rear wheel tub.
Left front corner in sealer.
Much closer look down the left side.
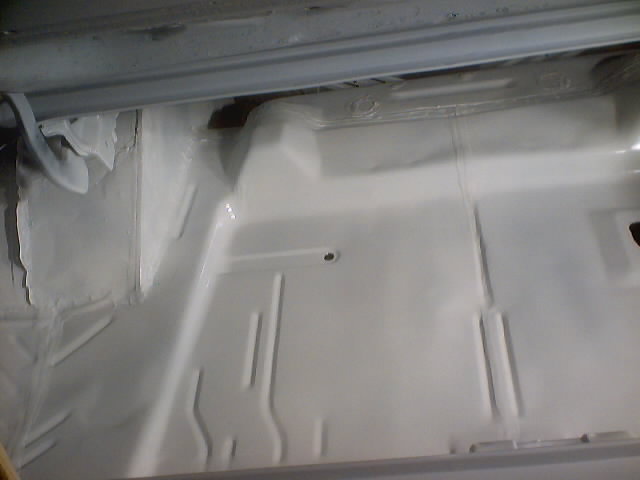
A look at the passenger floor in sealer.
Right fender in sealer.
Right rear corner in sealer.
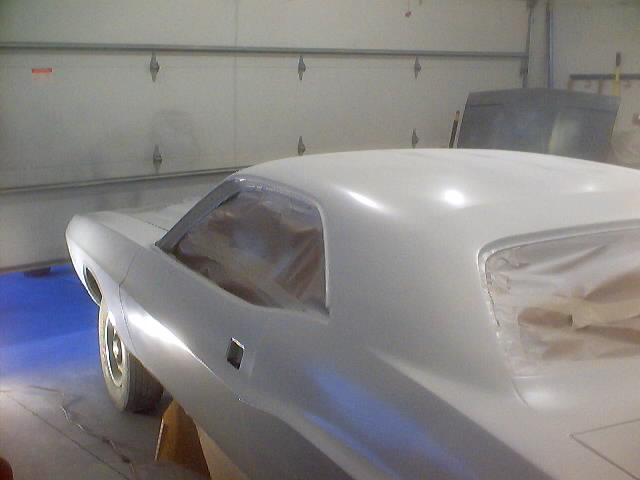
Right side ready to paint.
A look down the right side.
Right rear corner prior to paint.
First coat of paint under hood.
Left front in paint.
Left fender in paint.
First coat of paint on the door.
Front end in paint.
Left corner of the hood.
Left door in paint.
First coat of paint on quarter.
Left rear quarter in paint.
Left front corner.
Left quarter with first coat of clear.
Tail light panel in paint.
Right fender in paint.
Right front corner.
Right door in paint.
Right quarter in paint.
Right rear corner in paint.
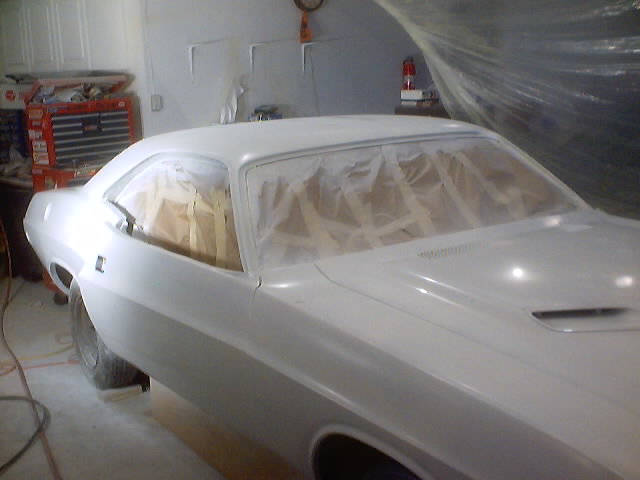
Right side in paint.
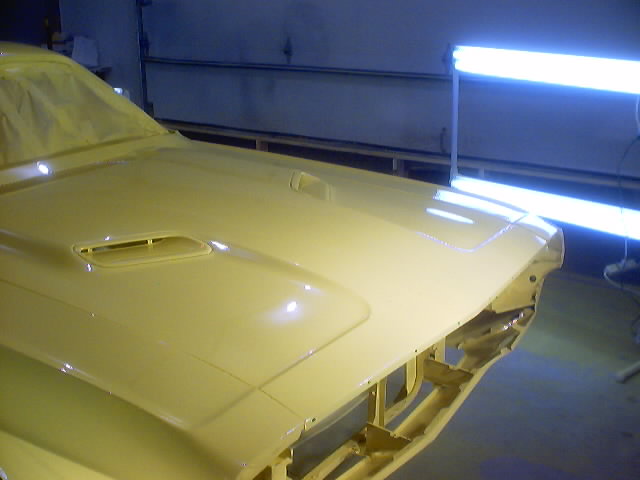
Top of hood in paint.
Right rear corner with first coat of clear.
Right side door with clear.
Right quarter with clear.
Rear view of the car after clearing.
Deck lid with claer.
Top of hood with clear.
Car outside for the first time.
Right front corner outside in the sun.
Left side in the sun.
Latest Pictures Enjoy!
Cema Show 2005.
Fender Nameplate.
Passenger fender PentaStar.
Hood Lettering.
Left Front.
Looking down the right side.
Right side door.
Right side of the car.
Right front corner of the car.
Right Rear Quarter.
Right rear corner.
Front end with bumper and lights installed.
Another look at the front end.
Left rear view.
Left front view.
Another look at the left rear corner.
Left side.
Take a look at how wide those tires are!
Trunk and tail lights.
Right front fender name plates.
Links to Other Mopar Sites...
My 340 Duster Web Page!
Brother Jim's Gold Certified 74 360 Cuda!
Frank's Web Site for a 1969 Dodge GTS!
Moparts! The BEST Mopar Site on the Web!
THANKS for visiting my new site! Be sure to drop back in as I continually add to the picture archives and the information to help you with your Mopar Restoration. In the meantime, if you have any questions or comments please feel free to Contact Me Here.