
(Click to enlarge)
This is for a user name of "Sample43212000"
Click on the pages to enlarge them.
This is how your hard drive should be organized. You should then load the four folders with the files I provided on Saturday.
(Click to enlarge)
This is the Geocities file manager for "sample43212000". I have scrolled down and cut off the top of these screens.
The first thing you must do is to create the subdirectories (Folders). Click on "New" under Subdirectories.
 Screen 1
(Click to enlarge)
When this screen comes up, enter the name of the Subdirectory and click on "Create Subdirectory".
 Screen
2
Screen
2
(Click to enlarge)
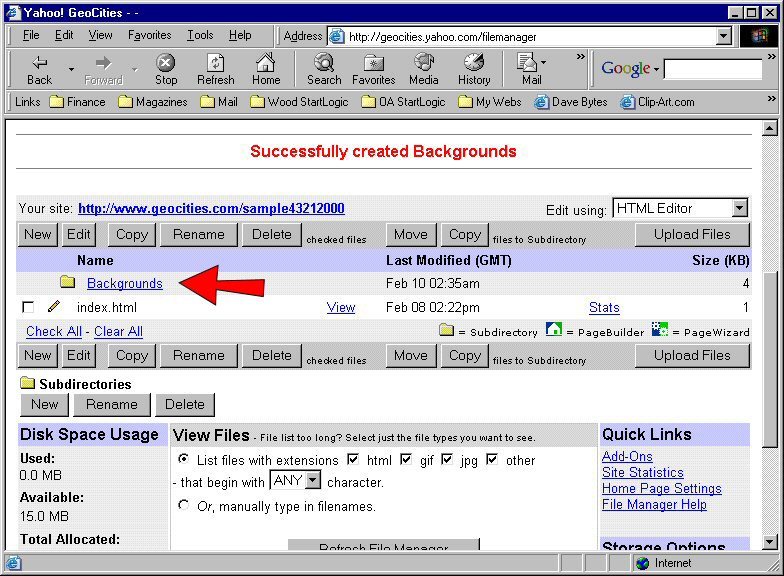
This shows that you now have a Subdirectory named "Backgrounds". Continue this process for "Image", "Clips" and "Thp".
 Screen
3
Screen
3
(Click to enlarge)
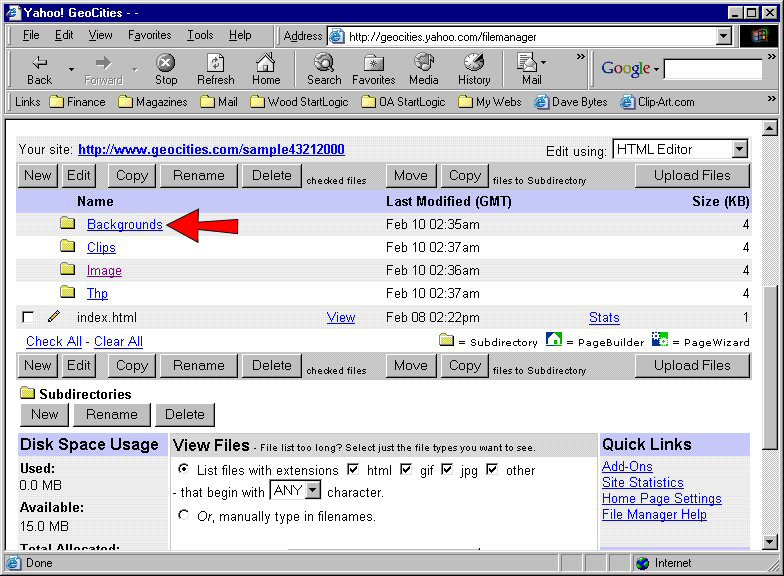
This shows all of the Subdirectories created. Now to put the files in the Subdirectories, click on "Backgrounds" to open this Subdirectory.
 Screen
4
Screen
4
(Click to enlarge)
The Subdirectory is now open but empty. Click on "Upload Files".
 Screen
5
Screen
5
(Click to enlarge)
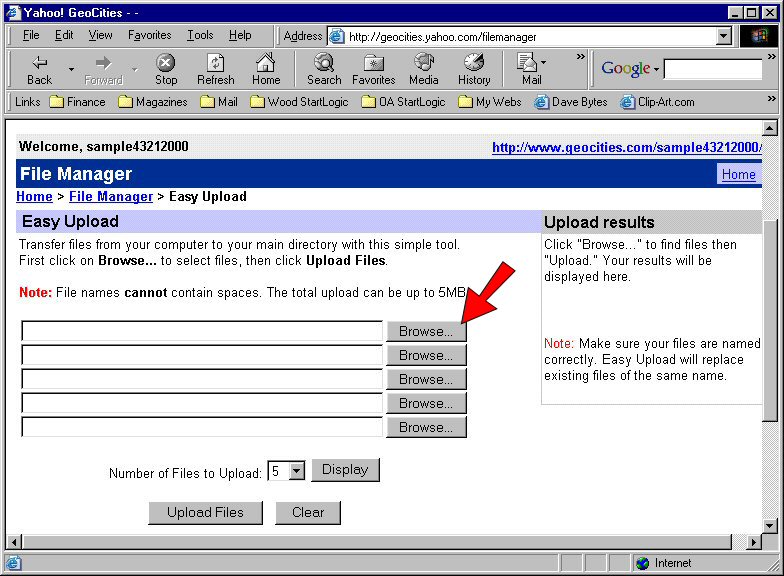
On this screen, click on "Browse"
 Screen
6
Screen
6
(Click to enlarge)
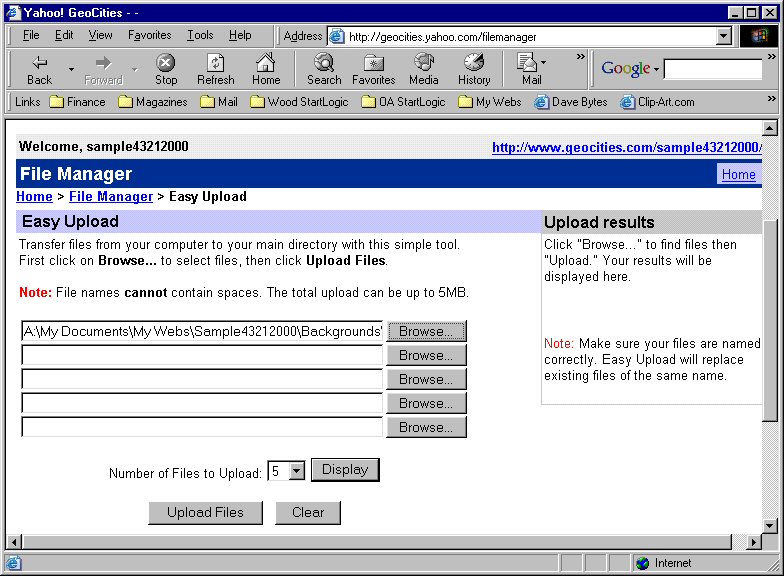
Browse to the Backgrounds folder on your hard drive, highlight the file you want to upload and click on "Open"
 Screen
7
Screen
7
(Click to enlarge)
And now you have chosen one of the files to be uploaded. Continue getting four more files.
 Screen
8
Screen
8
(Click to enlarge)
You now have five files ready to upload. Now click the "Upload Files" button.
 Screen
9
Screen
9
(Click to enlarge)
This shows that you have successfully uploaded five files. Click on "Upload More Files" until all files have been uploaded and then click "File Manager".
(Do not click "Continue")
 Screen
10
Screen
10
(Click to enlarge)
You have now loaded all of the files into the Backgrounds Subdirectory. Click on "Up one level" and repeat this with the other Subdirectories.
 Screen
11
Screen
11
(Click to enlarge)
This should give you a good feel for how the uploading works.