Connecting and Setting Up Pirch 

   (courtesy of  PSPUG.org) and used with permission.
Download Pirch  


After downloading and installing Pirch, follow these directions to setup your connection to StarChat.Net and #seeking-his-face. Click on the above icon to download Pirch.

First, please open the current servers list. Try selecting one that is near your location. If you find you have problems with it, you may always add a new server at a later date.
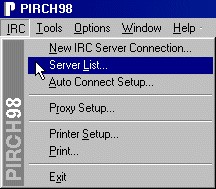
IRC menu

Start Pirch.


Menu item IRC | Server List


This will Bring up the Network Explorer window


Pirch Network Explorer window


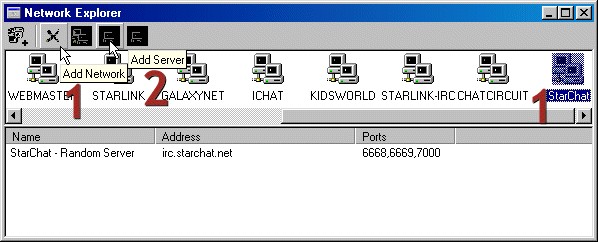
1. Click on the larger plus sign {+) to ADD NETWORK. Type StarChat into the upper pane of this window. (If you already have a StarChat entry you may skip this step.)

2. Click on the smaller plus sign {+) to ADD SERVER, which will bring up the Server Properties window: Pirch Server Properties window
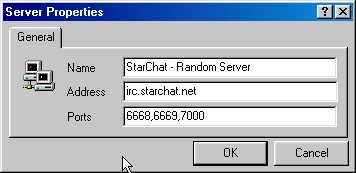
Here is where you enter the server information from the current servers list.

Name:
Enter a name for this server connection, such as StarChat, location
Address:
Enter the server name EXACTLY how it appears on the server list
Ports:
6667 is always the default. If others are listed, you may add those, separated by a comma. Do not use spaces.
Click OK to close.
Click either X to close the Network Explorer window.


3. Click the Login button Pirch Login to bring up the Server Connection window.
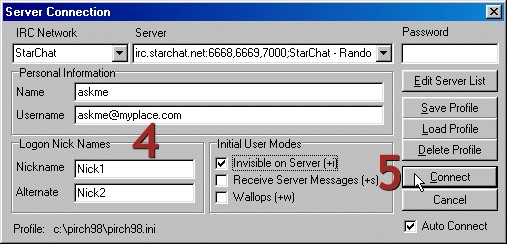
Pirch Server Connection window


4. Complete the Personal Information and Log On Nick Names in the Server Connection window.

Name:
Give yourself a name. It is not wise to list your name. Don't make yourself an easy target for someone who may wish to harass you.
User Name:
Again, for safety's sake, use a blind or fictitious name. It is common to place an email address here also.
Nickname:
Enter what you would like to be known as during the chat. If you had a registered handle at Live Universe try using that handle as a nick here.
Alternate:
Enter an alternate choice for a nickname should your first choice be in use. Often people add a special character ( ^, -, or _ ) to their nick.
Invisible:
It is advised to check this box. This hides you from people doing a blanket search for people connected to the network, however you remain visible to those that search for your exact nickname.


5. Click Connect! You will be on your way. A message similar to this should appear:

message


Should you be unable to connect to the server you have selected, simply repeat the above step 2, trying a different server.

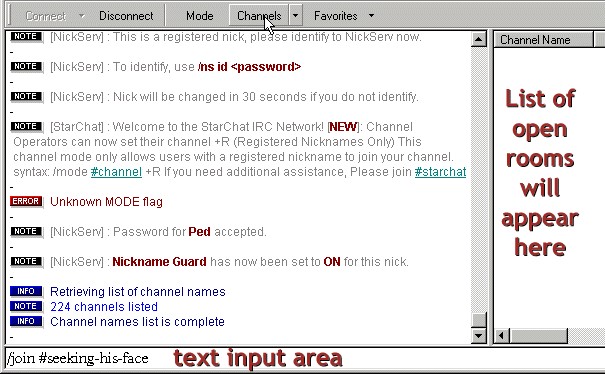
Upon a successful connection, you will see the MOTD (message of the day) quickly scroll your Server Window.

Pirch connected server window


6. To join our channel(#), also known as a chat room, you have two options.

  • Click on the Channels button. A list of open rooms will appear shortly in the Channels list to the right. Scroll the list to find #seeking-his-face. Double click on it OR highlight it, then right click to select join from a pop-up menu.
OR
  • In the Text Input Area, enter the name of the channel EXACTLY: /join #seeking-his-face. Anything else and you will be sitting in a room by yourself!


After all this chanserv should send you a message asking you to come on in and get comfortable in Seeking His Face. We look forward to seeing you there.


Back   |  Home